Contents
Top Tips for Painting
Painting can be an intensive process that requires significant planning, preparation, and the correct techniques. The following 10 pro-tips for painting will help you achieve the success you desire and create projects of which you can be proud.
1. Clean All Surfaces
The first hack in our tips of painting is to make sure you clean the target area first — if you coat over dirty surfaces, the paint will chip off easily, make it more liable to flaking, and will create an uneven final finish. This is particularly important in areas such as:- Kitchens.
- Bathrooms.
- High-touch surfaces.
- Rooms with non-water-soluble markings.
- Above heating registers.
2. Address Imperfections and Prime

Skim Coats
For walls that are battered or have large areas of damage — you can apply a thin coat of plaster on top of the existing layer to create an even surface. For a truly smooth finish, use a contractor — although, with a little practice, the enthusiastic DIYer can achieve pleasing results.
Replastering
This technique is necessary for surfaces with massive holes, large cracks, or lots of loose plaster. As this is a skilled project, it’s worthwhile enlisting the help of a trade pro — unless you’re a proficient home improver.
Primer
Primer creates a flat base, emphasizes imperfections, and covers existing paint coats.
A thin sheen of primer — either oil or water-based depending on your topcoat — delivers a basic surface to which your main coat will adhere. For example, water-based paints will be sucked into raw timber — giving an unaesthetic, uneven, and thin finish — the primer promises a flat base on which to begin.
Additionally, by elevating adhesion, this undercoat inhibits chipping and flaking on metal materials, such as automotive bodywork.
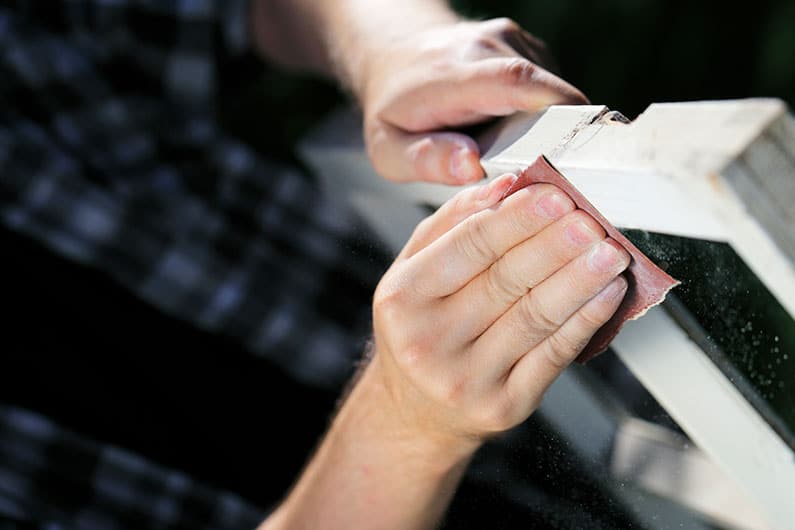
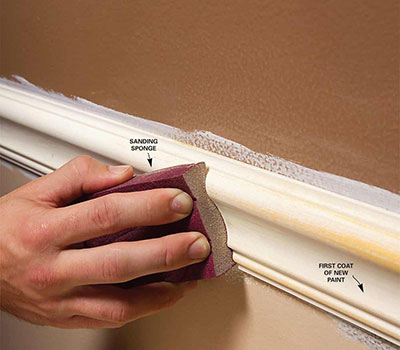
Furthermore, most trade contractors utilize primer (typically thinned) to indicate issues in the target material. Providing your project with a swift prime coat reveals where the surface is scratched, flaking, and uneven — allowing you to address the offending areas with abrasive paper.
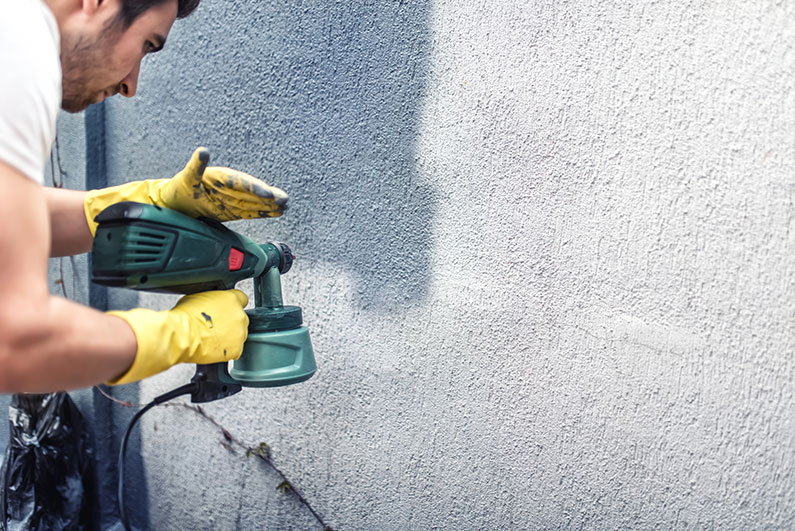
Ideally, use a paint sprayer to deliver the primer, as the fine atomization provides the smoothest base for painting. However, as a viscous medium, you need a unit with a significant amount of brawn to adequately propel the primer — for example, the turbine Wagner MotoCoat, the compressor-driven Iwata LPH440-181, or the hydraulic Control Pro 190. For detailed info, check out my Priming 101 article.
3. Use Drop Cloths
4. Always Mix Paint Beforehand
5. Thin the Paint — If Required
6. Address Wood Trim First

- Dish soap on glass surfaces.
- Olive oil on countertops.
- Commercial cleaners on carpet and concrete.
- Rubbing alcohol on linoleum.
- Denatured alcohol on wood.
- Paint removing gel on brick.
- Vegetable oil on plastic.
7. Avoid Lap Marks
- There’s too much heat or draft during the drying phase.
- No primer is applied.
- There’s insufficient paint stirring or thinning.
- Trying to paint an area too large at once.
- Using low-grade economy paints.
8. Spray Like a Pro

Painting, especially with a sprayer, is akin to playing a musical instrument, throwing a baseball, and satisfying your partner in the bedroom — technique is crucial.
Sure, the appearance of your mighty tool may induce gasps of admiration, but if you use it incorrectly, the results will be disappointing.
So, these are my ultimate hacks for pro-level spray painting:
- Address your target material from a distance of 10-12 inches.
- Ensure that each pass of the sprayer overlaps by around 30-50 percent.
- Use long, sustained, continuous passes.
- Avoid applying wet paint onto dry — as outlined in Tip #7.
- On narrow projects — such as railings and fences — use up-and-down strokes.
- When addressing wide areas — like walls — use side-to-side movements.
- Select the ideal fan style for your strokes — vertical for side-to-side passes, horizontal for up-and-down motions, and circular for fine finish areas.
- Maintain a parallel action with your base material — never use sweeping ‘arcs,’ which will lead to feathering.
9. Use a Paint Shield on Edges
10. Expect Touch-Ups
Once you’ve finished painting, you might think that you’re officially done with the whole process, crack open a cold one, and switch on the ball game.
Slow down buddy, it ain’t quite over yet.
Once the paint has had sufficient time to dry — check it over for mistakes, missed areas, and wayward splatters. For small touch-ups, you don’t have to bring out the power painter, just use a small handheld brush. And, for stray paint flecks, use a little mineral spirit to remove oil mediums, and water with a gentle detergent for latexes, chalks, and acrylics.
Closing Words on Tips for Painting
Follow these 10 tips for painting, and your next project will be a success.
While you can use a roller or brush for your home renovation jobs — a sprayer delivers a finer finish, a more even coat, and prevents brush strokes, lost bristles, and stippling. For small projects, consider a turbine unit, and for more expansive jobs, check out the mighty airless machines.
Follow up with us if you have any questions, any painted projects that you would like to show off, or any tips for painting that you would recommend to any DIY novices out there.


