
The staple gun is a powerful and versatile tool that’s used to drive metal fasteners into a plethora of materials — most commonly cardboard, plastic, and wood. In the most simple terms, a staple gun is a faster, more powerful, and more grunty version of the office stapler.
It’s a darn handy machine, but only when used sensibly and safely.
In this article, I’ve put together some common staple gun problems that you need to know about, and will reveal my top tips for solving these issues.
The Most Common Staple Gun Issues
Jamming
- ‘We’re Jammin’ — sang Bob Marley in 1977, using his reggae beats to raise public awareness about the most commonly experienced staple gun issue. Maybe. Whether you own a manual electric pneumatic model, your staple gun will, at some point, become jammed. It’s the most prevalent problem of them all — here’s how to fix it:
Manual Staple Gun
Some units have a locking bolt on the underside instead of a screw, with a nut on the opposing face. Use a wrench or pliers to secure the bolt — while you remove the screw with a correctly-sized driver.
Electric/Pneumatic Staple Gun
occurs, avoid the temptation of repeatedly squeezing the trigger in the vain hope the blockage will clear — it could exacerbate the situation and possibly damage your unit.
Dispensing Multiple Staples
There’s nothing worse than trying to deliver a single, accurate staple into your project — but your gun has other ideas and shoots out your wire fasteners like a semi-automatic rifle.
Typically, this occurs due to using staples that are too small for the hammer and dispensing aperture — as the head falls, it pushes out numerous fasteners.
Hence, always use the correct staple rating and size, as detailed by the manufacturer. Additionally, avoid being tempted by apparent ‘bargain’ unbranded types that offer universal machine use.
Hard-To-Pull Trigger
Some manual guns seemingly require the strength of Schwarzenegger to pull the trigger.
This is due to the firing mechanism, which relies on ‘you’ power to extend the internal spring, bending the tension bars, until it releases the firing piston. In effect, each squeeze is a hand workout.
I hate to be a doom monger, but if your trigger is hard to pull, there’s little you can do — barring building some muscle at the gym. The level of effort required does vary between models, depending on the spring resistance, but this isn’t usually specified by the manufacturer.
If your heart is set on a manual unit, opt for one with the longest trigger possible. This increases the leverage, requiring less physical strength to stretch the spring — such as the Arrow T50.
Alternatively, opt for an electric or pneumatic machine, like the Stanley TRE550Z or the
Arrow PT50 — that utilizes external power to propel the staples, meaning effortless trigger operation.
Misfiring or Clogged Hammer
The signs of a malfunctioning or clogged hammer include the staple gun not penetrating your target material, your staple gun staples bending upon impact, or simply no fasteners being dispensed from the machine.
You can resolve the issue(s) as follows:
1. Open the staple mechanism.
2. Check for blockages. If any are present, remove them as explained in the ‘Jamming’ section above.
3. Ensure you’re using the correctly sized staple.
4. With a clear dispensing chamber — press down on the head of the stapler to ensure the hammer is moving freely.
5. Sometimes, dirt, metal shards, and grease can prevent the hammer from ascending and descending adequately. Use degreaser, vinegar, white spirit, or WD40 to clean off any detritus.
6. Once clean, you can add a small amount of lubricant to reduce friction and prevent further clogs. Don’t be over-generous, as you run the risk of contaminating your target material with oil.
Worn Out Spring

Open up your stapler and check the condition of the spring — it should push firmly on the cartridge, bounce back freely when pulled and released, and show no indications of cracks, breaks, or rust.
If the spring is damaged or faulty, a replacement will be necessary. Locate the correct part from the manufacturer, and follow these steps on how to fix a staple gun spring.
1. Open the stapler to reveal the spring mechanism.
2. Unhook the spring from the pusher head — with no tension load. Depending on your model, this can involve simply pulling it out with a pair of needle-nose pliers, or removing a small screw.
3. Unhook the opposite end of the spring from the gun casing — again, either with pliers or a screwdriver as required. Some units will require the removal of the cartridge slider to gain access to the spring connectors.
4. Attach the new spring — one end to the pusher head and another to the casing.
For many machines, especially budget manual models, staple gun spring replacement isn’t cost-effective — it’s much simpler to purchase a new unit.
Insufficient Depth Penetration
Staples not penetrating deep enough into your target material is a serious annoyance. For starters, it makes your project appear messy and unprofessional — additionally, it can mean inadequate bonding.
If this happens, first check the hammer head for blockages, as described in ‘Misfiring or Clogged Hammer’ above. If it is running freely, then the problem could be due to:
Low-Grade Staples
Always ensure you utilize the correct staple for your gun as described by the manufacturer. Some models are compatible with industrial-grade heavy-duty staples, ideal for denser materials.
Inadequate Power Output
If your staple gun is low on grunt — it will lack enough power to drive the fastener into your base material. Manual models are the weakest machines and pneumatic the most brawny — hence choose a unit that has the muscle to drive into thicker materials.
Dense Target Material
Some staple guns, especially the pneumatic format, are scarily powerful — but they aren’t freaking miracle workers. Dense metals, masonry, and some hardwoods are just too robust for what is a relatively thin connector.
So, sometimes it’s best to put your gun down — and go for your drill and screwdriver.
Cannot Access All Areas
Staple guns aren’t the most compact of machines — their awkward shape makes it challenging to access confined spaces.
In these situations, opt for an alternative tool — such as a hammer and nail or a close-quarter right-angled drill.
Use Correctly to Avoid Issues
Many staple gun problems can be avoided by simply ensuring that you operate the gun correctly — and not carrying on regardless if your machine starts to malfunction.
Always read the manufacturer’s instructions regarding use before operating your unit — even if you consider yourself to be an expert in the stapling arena. Different makes and models have specific functions and characteristics that may require distinct operational techniques. When you have thoroughly checked out the user guide, take a look at my article on How to Use a Staple Gun.
And, to prevent staple gun injury problems — always put safety first.
Here are my top ten tips for hazard-free operation.
1. Always wear gloves and goggles when using a staple gun.
2. Never point a staple gun at yourself.
3. Never point a staple gun at other people.
4. Read the manufacturer’s instructions.
5. Always use staples approved by your machine’s manufacturer.
6. Disconnect from compressors or mains outlets when not in use.
7. If it malfunctions, stop using it immediately.
8. Don’t hammer in loose staples with the gun head — use a proper tool.
9. Always ensure the spring isn’t under tension when replacing.
10. Keep your gun well maintained.
For more advice, check out my article on The Dos and Don’ts of Staple Guns.
Conclusion
However, they can also malfunction.
Don’t let common staple gun problems stop you from completing your DIY projects. Use the above tips and hacks to ensure trouble-free use!
How to Fix a Stapler That Won’t Staple Correctly FAQs
Q: What Is the Screw on the Top Of a Staple Gun For?
Some staple guns, particularly high-end manual units, have a screw on the upper outer casing above the hammer head. This allows you to adjust the penetration depth of the staple into your target material.
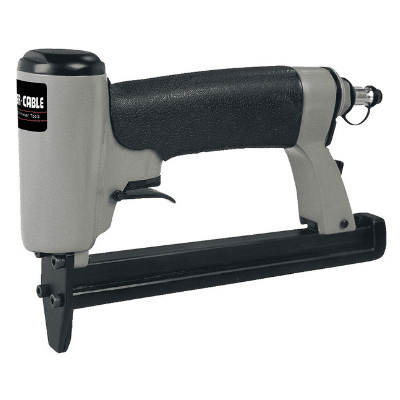
Q: What Is a Crown Stapler For?
Most commonly, crown staplers are utilized in upholstery applications — bonding fabrics to wood bases. An excellent example is the Porter-Cable US58.
Q: Why Is My Stapler Stapling Backwards?
If the legs of your staple are splayed outwards (pinning setting), but you want them to bend inwards (reflexive setting) — you need to rotate the strike plate. Typically, this is easily achieved by pushing it upwards from beneath, and then turning until it’s in the correct orientation.
Q: Why Is My Stapler Jamming?
The two most common causes of stapler jams are using the wrong sized staples for the gun, or inserting them incorrectly into the load chamber.
Q: Can I Oil My Stapler?
You can lubricate the hammer, but it’s not advisable. Excess lubricant runs the risk of transferring onto your target material, or leads to unwanted multiple staple dispensing.
Instead, use WD40 or vinegar to clean the hammer of any detritus, allowing it to move freely.
Q: How Does the Spring In a Stapler Work?
The spring forces the staple cartridge towards the dispensing head. As you press down on the stapler, or squeeze the trigger, the hammer pushes the first staple through the aperture.
| IMAGE | PRODUCT | DETAILS | ||
|---|---|---|---|---|
|
Best for Upholstery
 |
Best for Upholstery
|
Features
|
Check Price at Amazon Porter Cable US58 Review Porter Cable US58 Review | |
|
Best Pneumatic

|
Best Pneumatic
|
Features
|
Check Price at Amazon Hitachi N3804AB3 Review Hitachi N3804AB3 Review | |
|
Best Manual
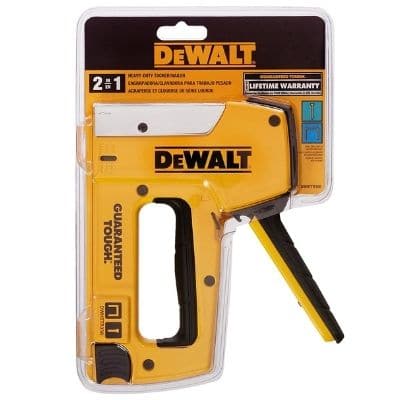 , , |
Best Manual
|
Features
|
Check Price at Amazon Dewalt DWHTTR350 Review Dewalt DWHTTR350 Review | |
|
Best Electric
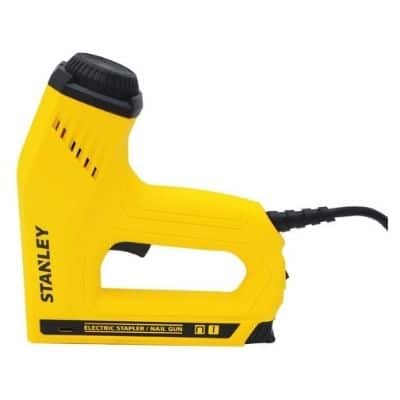 |
Best Electric
|
Features
|
Check Price at Amazon Stanley TRE550Z Review Stanley TRE550Z Review |
Staple Gun Categories


