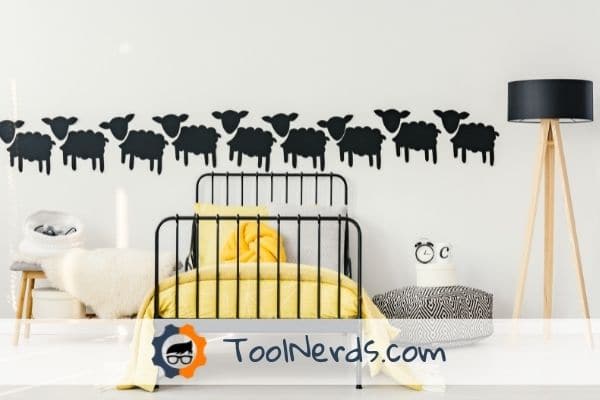
Learning how to stencil with a paint sprayer will open up numerous possibilities for any grand designs you may have on your home. This inexpensive process may appear intimidating at first but after reading these guidelines and with a little practice, you’ll be stenciling like a pro in no time.
However, when preparing for such a project, there are a few points you should keep in mind — is your spray gun suitable, and what is the best type of paint to use?
My handy how-to guide aims to address all the above in a straightforward, jargon-free manner. So, get comfortable, and I’ll begin.
What Are Stencils For Spray Painting and Why Use One?
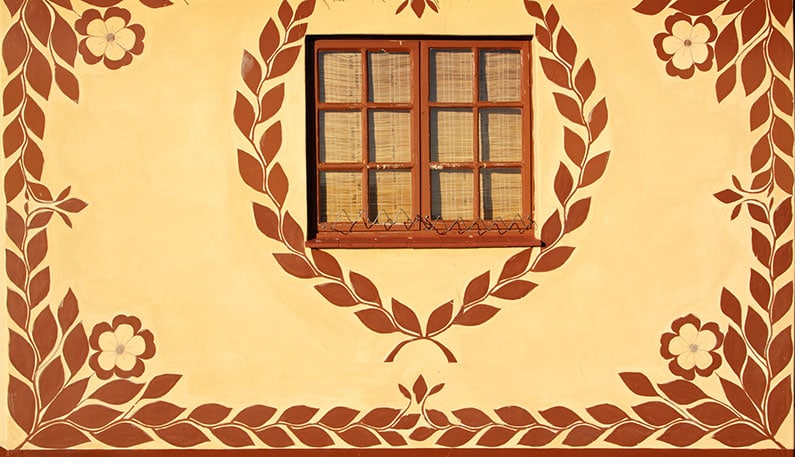
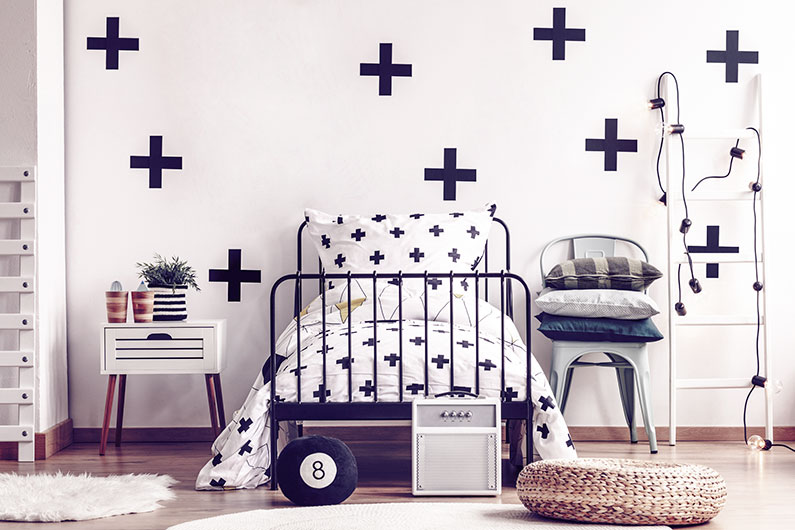
Spray painting stencils are flat templates that permit you to apply a one-off or repetitive pattern on a surface — be it walls, floors, or furniture. They’re a budget-friendly way to update your home without investing in costly wall decals or time-consuming wallpaper.
If you’re feeling particularly creative, you can make your own stencils. All you need is a cutting board, a crafters knife, and a firm material — such as cardboard.
However, to save you time and hassle, many types of stencils are available commercially. Well thought out in terms of features, they’re often laser cut, which makes for sharper pattern edges — the Herringbone Wall Stencil from STENCILIT being a perfect example.
Alternatively, if you aren’t enamored with the idea of stenciling the entire wall or perhaps just want to update a small surface, something like these GSS Designs Mountain Bears may be more suitable.
Best Spray Gun for Stenciling
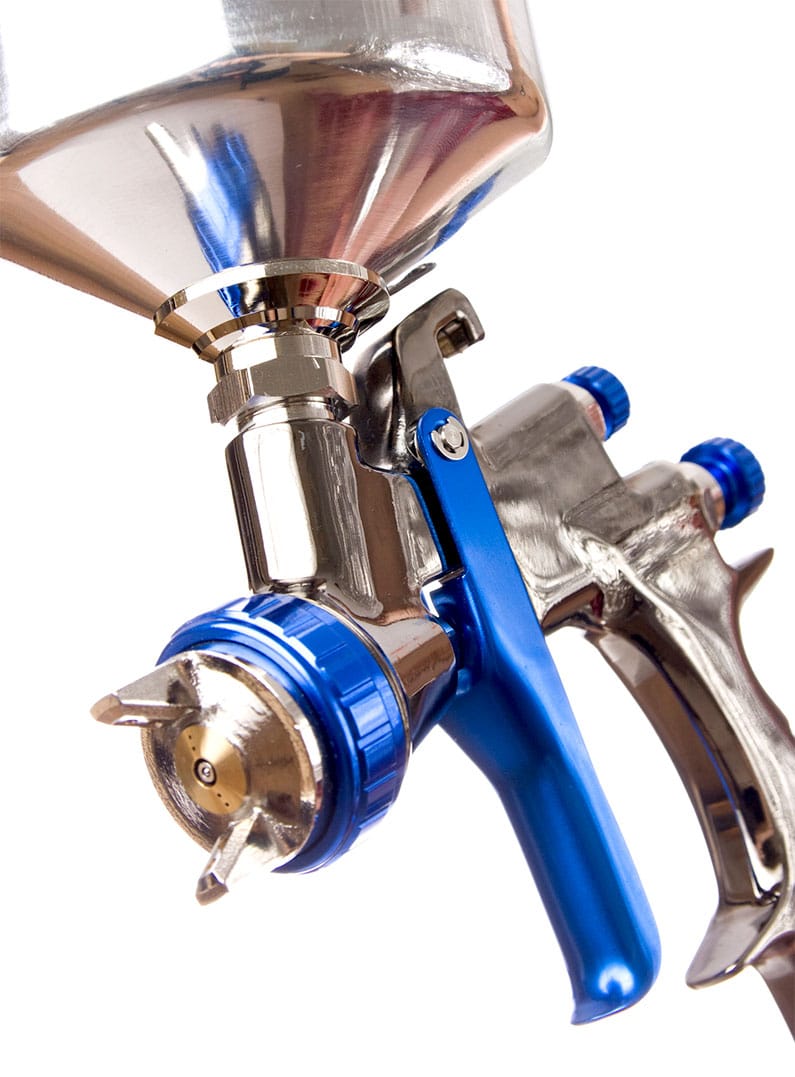
By using a paint sprayer for stenciling, you can be assured of a more consistent blemish-free finish — something almost impossible to achieve with a brush or roller. There is also the added benefit of completing the job faster.
As this is a detailed intricate task, you don’t need a mammoth airless machine. In fact, it could be detrimental to the overall result — it’s likely to blow the stencil into oblivion.
The ideal unit should include HVLP (high-volume, low-pressure) technology — it will minimize overspray and require less coating. These types of sprayers are also more adept at handling stencil coatings.
Furthermore, make sure that you select a sprayer with an appropriately sized nozzle for your coating — if not, that it’s compatible with other tip sizes. Additionally, consider the cup size — if you’re only completing a small project, an oversized coating container isn’t essential.
There are even purpose-built craft paint sprayers specifically designed with this kind of use in mind, like the Wagner Opti Stain Plus.
Best Paint for Stenciling
When choosing the best paint for stenciling, it can be tricky to determine what you need — there are so many different types available. Things you need to keep in mind include:
- A flat surface. For example, if you’re stenciling a wall that requires repairs (nail pops, holes, and cracks), fix these first, then use a quality wall primer, like this from KILZ.
- Apply a base color coat to your wall. Personally, I would avoid high-sheen coatings and instead opt for a flat (or matte) paint, for example, Rust-Oleum Flat Wall Paint. This type is more porous, which means your stencil paint will adhere better and won’t bleed around the edges of your stencil.
Additionally, it’s also more forgiving if you make a stenciling mistake, as it’s easier to touch up. It blends better with the original coating layer (with no flashing) — allowing you to cover up your error and stencil over the top.
- Pick the correct stencil paint — go for latex or acrylic paint, not oil-based coatings. A particular favorite is Montage Signature Eco-Friendly Interior and Exterior Coating — it’s low sheen and available in a variety of attractive hues.
- Stencil spray paint — while it appears a convenient approach, it’s impossible to control the amount of medium delivered. This could lead to a patchy result, hence, I suggest you give it a wide berth.
Spray Adhesive
While not strictly a paint, spray adhesive is worthy of mention. It’s a straightforward process — you apply it on the back of the stencil to create a tacky surface and stick it to the wall. It also permits repositioning — so, if your template isn’t in the perfect place, you can adjust to your exact requirements. Of course, you can fix your stencil template to your base medium by using masking tape. However, it could interfere with positioning — since half will be on the surface and half on the template. And, while it’s possible to double over the tape, you’ll find that the template won’t be flush with the surface — which could lead to stencil bleeding.
How To Spray Paint Stencils On a Wall — Step by Step Instructions
Ready to learn how to stencil without bleeding? This section is angled to provide you with step-by-step instructions — so you end up with the most professional-looking finish possible.
What You Need to Follow This Tutorial
- Suitable paint sprayer.
- Appropriate fluid nozzle.
- Your chosen stencil.
- Stencil paint.
- Stir sticks.
- Spray adhesive.
- Water.
- Dish detergent.
- Bucket.
- Old cloth.
- Drop cloth.
- Old cardboard box — flattened and painted with original wall coating.
- Personal protective gear — respirator, goggles, and coveralls.
Step 1 — Preparation
- If you’ve just finished painting the wall, ensure that it’s completely dry before attempting to stencil. If your base coating was applied some time ago, ensure that it’s free from greasy fingerprints and dust. Clean the wall with a mixture of dish detergent and water in a bucket, then wipe the surface with a cloth soaked in the solution. Leave to dry completely before continuing.
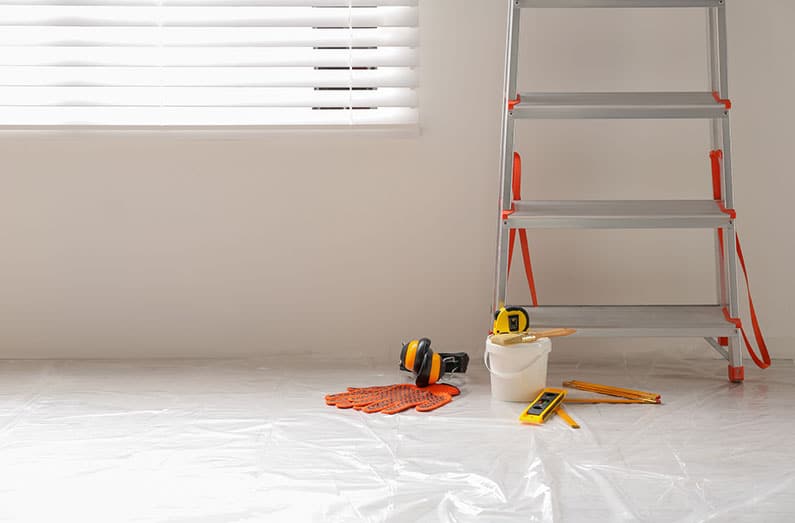
- Place a drop cloth on the floor and move any items close to the wall far away. Check that the room is well ventilated.
- Set up your paint sprayer according to the manufacturer’s directions. Adjust the settings as recommended in your owner’s manual.
- Before adding the coating to the sprayer, mix thoroughly using a stir stick.
- Don your personal protective equipment.
Step 2 — Quick Test
- If you haven’t used a paint sprayer and stencil combination before, it’s a good idea to have a “dry run” first — to make sure the fan pattern is small enough before starting on the wall. So grab that flattened, painted cardboard box.
- Apply spray adhesive to the back of the stencil and position it on the cardboard, pressing it into place.
- Turn your paint sprayer on, and keeping the nozzle approximately 12 inches from the cardboard, complete a pass. Start the stroke before the pattern and finish after. This will allow an even layer, without paint pools — which could lead to paint seeping under the template (bleeding).
- Repeat step three as many times as required until you achieve complete coverage. A test spray gives you the opportunity to “play” with the pattern and other settings until you have attained the look you’re hoping for — without it harming the pristine wall.
Step 3 — Stencil the Wall
- Now that you’ve done a quick test, there should be no surprises when stenciling on the actual wall. Reapply the spray adhesive to the stencil, and position it where required.
- Similarly to step two, keep the nozzle at a distance of 12 inches from the wall and start spraying. Remember to use fluid strokes that pass from one end of the stencil to the other.
- Peel the stencil away from the wall. The coating doesn’t need to be dry for this step.
- If you’re aiming for a repetitive pattern, check that the back of the stencil is free from paint, add some more spray adhesive, position the stencil again and repeat points two and three — as required.

Step 4 — Clean Up
- Once you’ve finished stenciling, clean your paint sprayer immediately after use. If your stencil is reusable, clean that too. Make sure both are dry before storing away — ready for your next project.
- Tidy up any buckets, cloths, and stir sticks and remove the drop cloth.
- Reposition any furniture you originally moved.
Conclusion
Being one of the most budget-friendly ways to revamp your home, stenciling isn’t difficult. And, by using a paint sprayer, you’ll have your projects completed in half the time.
Stenciling allows you to leave your own mark on your projects — expressing your personality. It’s a simple task, so simple in fact, you probably began experimenting with it in kindergarten with your ABCs.
This How to Stencil guide will refresh those basics in your mind — plus, step it up a notch by using a paint sprayer. Hence, if you’ve found it useful, don’t keep it to yourself — pass it on to other DIYers in need.
Frequently Asked Questions
Q: What Is The Best Paint To Use For Stencils?
Ideally, choose a water-based latex or acrylic coating for the best results. For base mediums — flat (matte) paints will make your stencil pop. It also has the advantage of being more forgiving for cleaning up mistakes.
Q: How Do You Stencil Without Bleeding?
To avoid bleeding when stenciling (paint seeping underneath the template), ensure the stencil is fixed firmly to the target surface — with no gaps. If you use spray adhesive, you can reposition the stencil — allowing you room for adjustment.Q: Do You Let Paint Dry Before Removing The Stencil?
As long as you have a steady hand, you can remove the stencil while the paint is still wet — just be careful not to smudge all your hard work.
Q: How Long Does It Take For Stencil Paint To Dry?
This depends on the type of paint used. For the most accurate advice, refer to the original coating container or manufacturer’s website.
Q: What Color Is Not Good For Stencils?
When stenciling, any color is game. Although, if you’re after a vibrant design, try to choose shades from opposite ends of the color wheel.
Q: Can I Make A Stencil Out Of Cardboard?
You sure can. If you can’t find a design you like and you’re feeling creative, all you need is a cutting board, crafting knife, a section of cardboard, and an idea.


