When it comes to home improvement, every day is a school day. By learning how to use a paint shield, you’ll find yourself achieving pro-level finishes with minimal effort. These simple devices come in all different shapes and sizes — who knew there could be so many types of paint shields? — and most sit around the same price point. An inexpensive tool, a paint shield is a handy addition to your DIY arsenal, but only if you use it correctly. With that in mind, here we look at how to use a spray paint shield and look at why you might choose a shield over painter’s tape. But first, what exactly is a paint shield?
shield fits the job

What Is a Paint Shield?


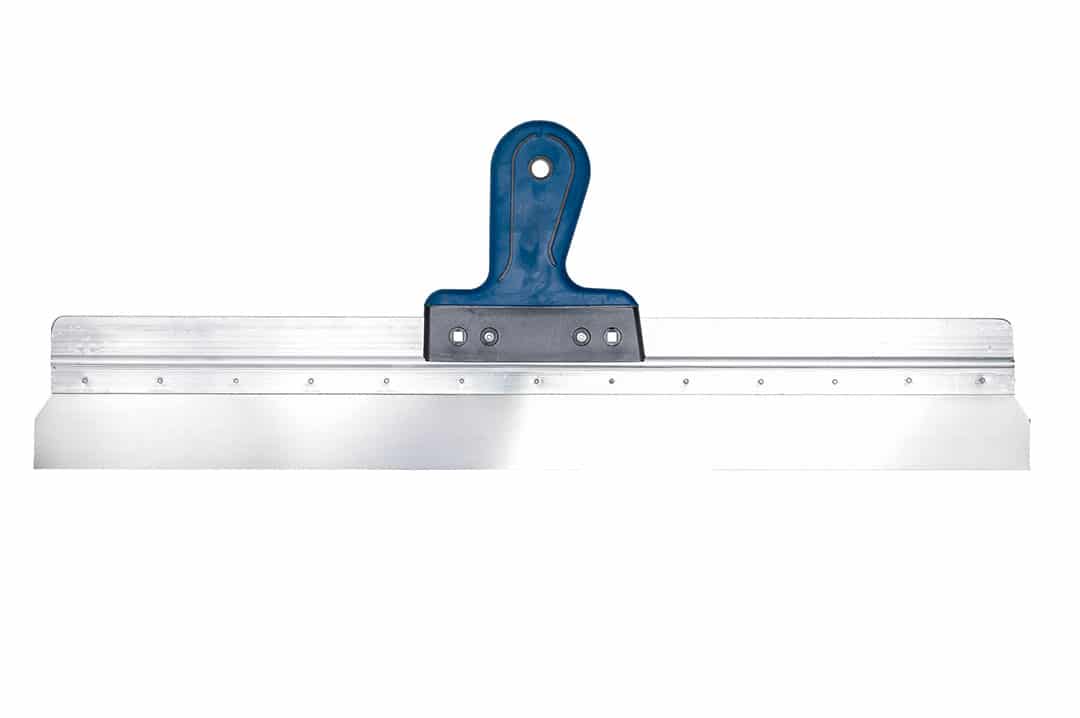
In a nutshell, a paint shield is a simple device that protects surface areas you don’t want hit with accidental overspray — or brush strokes and roller splodges, if you’re using these methods. Sometimes known in the industry as a paint trim guard, these metal or plastic tools typically include a straight edge that allows you to cut in with ease. Some high-tech versions can connect directly to an extension pole and are great at reducing bounce back.

Paint Shield vs Tape?


Of course, you could always just use masking or painter’s tape but this adds time. Before painting, you need to tape off areas you want to protect and then remove all the tape once you’re done, all of which takes time. It’s also easy to forget to tape a critical place and not realize until you are just about to spray there. If that happens, you’d need to put down the tools, clean your hands, and remember where you left the tape. Not the end of the world, of course, but it does interrupt your workflow and productivity. Additionally, painter’s tape can’t be reused and some low-quality tapes allow the coating to bleed through, which destroys the neat finish you were aiming for. A painting shield, on the other hand, is with you every step of the way. These tools are designed to be held during use and once you get into the swing of things, you’ll hardly even notice you’re using a spray paint shield.

What To Look For in a Paint Shield


You could make your own paint shield system, but to be honest, by the time you’ve researched designs and located the materials in your workshop, it’s smarter and faster to invest in a ready-made shield.

Plus, manufacturers are constantly innovating gadgets that make using a paint-guide tool an effortless affair.

For example, the Titan Guide Accessory Tool includes a wheeling disk that attaches to an extension pole or a spray gun extension. This is great as it rotates as you go and keeps one of your hands free for other tasks.

Speaking of extension rods, if you don’t own one already then the FUNTECK Universal Spray Guide Kit includes a lengthy pole to prevent you from shooting your hands off when working with a powerful airless sprayer.

If you’re more old school, then a regular rectangular painting shield may be more your style. In which case, make sure it’s lightweight enough that you won’t tire while holding it up but not so light that it moves easily. Also, a reinforced rubber grip will stop it from slipping out of paint-covered hands.

Last but not least, consider the size of your project as this dictates the size of your painting trim guard.

What You Need to Follow This Tutorial


Be prepared to achieve striking results and make sure you have everything ready before you begin.
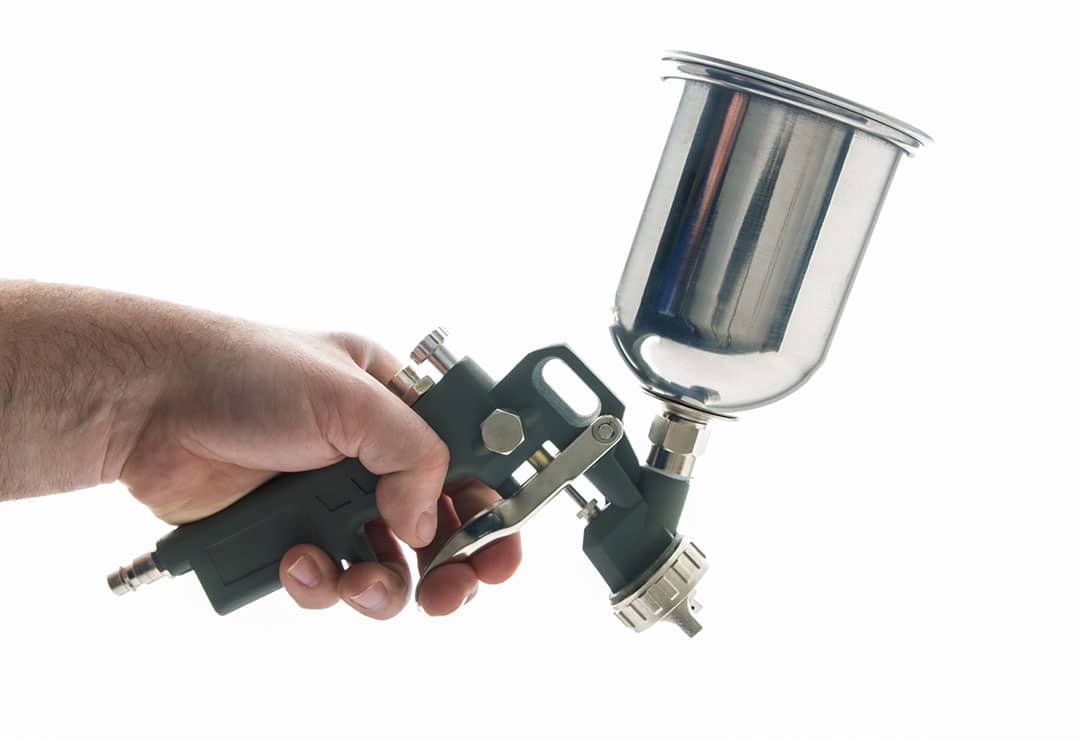
  • Paint sprayer.
  • Coating.
  • Paint shield.
  • A buddy (not mandatory but very helpful).
  • Extension pole.
  • Cloth.
  • Coveralls and protective gear such as goggles and a face mask.

How To Use a Paint Shield to Create a Straight Line


Preparation

1. Before you start, take a moment to evaluate the surface you’re painting. Make a mental note of the areas that where you’ll use the paint spray shield.
2. Set up your sprayer, add your coating, and don your protective gear. Ensure that you have any movable objects out of harm’s way.
shield fits the job

Start Spraying

1. Take the sprayer in your dominant hand and wield the paint guard in the other. If you’re coating a large area, a good buddy is helpful as one person can be in charge of the paint sprayer shield while the other mans the spray gun.
2. Position the paint trim guide adjacent to the surface you’re painting and press down firmly so the device will not move around. For example, when coating a baseboard, place the spray paint edger against the floor. Then when you are ready to coat the top part, position the device against the wall.
3. To avoid coating build-up and paint transferred from place to place, it’s vital to clean the shield regularly. The best way to remove the paint build-up is simply to wipe the shield on a cloth.
4. Continue with steps two and three until your entire project is completed.
shield fits the job

Clean Up

1. As with any paint-based project, don’t allow the paint to dry on your tools. When you’re done with the task, clean your overspray shield with the correct medium. For water-based paints, soapy water will do the trick. Oil-based coatings will require a mineral solution or dedicated paint thinner.
2. Take the time to clean your paint sprayer thoroughly too.
3. Once your flawless coating is dry, move any objects that were removed originally back into place.
shield fits the job

Conclusion

Whether you opt for a plastic paint shield, a metal paint edger, or a cardboard shield holder from Home Depot — this tool should definitely be part of your DIY decorating tool kit. Remember to go at your own pace, press down firmly and clean thoroughly when you are done. This attention to detail will help you achieve those clean lines that make all the difference to your finish. Now you know how to use a paint shield, there’s no limit to the surfaces you can coat, so crack on and get painting!

How To Use a Paint Shield FAQs

Q: How Do Painters Get Perfect Edges?
Professional painters swear by paint guards to achieve those perfect sharp edges. In my opinion, if it is good enough for the pros, then it is also great for us weekend warriors.
Q: What Can I Use As a Paint Shield?
What you can use as a paint shield is only limited by your imagination! There are numerous items around your home that will work — a putty knife or even a dustpan can double as a homemade paint shield! However, if you want the best result, a purpose-built device will provide a keener edge.
Q: Do I Need To Cut in Twice When Painting?
You shouldn’t need to cut in twice when paint spraying. Complete cutting in with the initial coat, then apply a second coat so that the two dry at the same pace.
Q: What Is the Best Paint Edging Tool?
The best paint shield for you depends on the size of the project you’re completing and the type of spray gun you’ll use. If you plan to use an airless machine, for example, then an airless paint sprayer shield with an extension pole is probably your best solution. Alternatively, for small intricate tasks completed with an HVLP, a cardboard holder for painting could suffice.
Q: Should I Use a Paint Edger?
If you are happy with bleeding edges and a finish that is just adequate, or, you’re a crack painter who cuts in like a pro every single time, you don’t need to use a shield. For the rest of us, a paint shield can make the difference between a good finish and a great finish. It might seem a little fussy and perfectionist, but when it comes to our homes, we think that’s a good thing.
Q: How Do You Use a Paint Cutting Tool?
If you are not sure where to get started with how to use a paint shield or cutting tool, check out my handy step-by-step guide above.