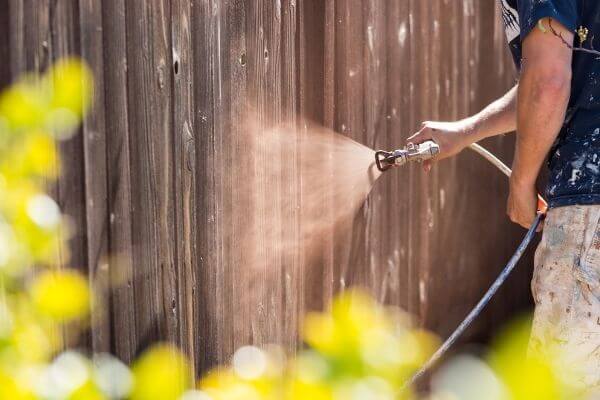
If you want the pinnacle of rapid coverage on large projects — you need to know how to use airless paint sprayer.
Although more portable than compressor-driven machines and with greater grunt than turbine units, these mighty sprayers can be problematic — especially for the newbie user — to set up and operate.
Hence, why it was important for me to write this how to operate an airless paint sprayer article.
But, don’t be discouraged by the initial challenges. With a little time, patience, and the correct machine, you’ll be an airless spraying pro — allowing you to operate one of the most brawny power painters in the world, and permitting you to tackle massive jobs with the finest of finishes.
What Is an Airless Paint Sprayer?
Listen up.
The paint spraying category covers three basic formats of machine — pneumatic, turbine, and airless. Pneumatics use high air loads from an external compressor to propel and atomize the paint, while turbines push air and the coating medium through the nozzle via a fan or series of fans.
But, an airless machine is different.
So, exactly how does an airless paint sprayer work? An internal pump elevates the load within the unit. Via hydraulics, it uses this pressure to push the coating medium through the paint hose and into the spraying gun. A series of narrow chambers steps up the power, and when the medium reaches the tip, it’s atomized into a fine spray.
One of the main attractions of the airless sprayer is its blistering output, with machines such as the Graco X5 knocking out over 3000 PSI — compared to an average 10 PSI of a turbine unit. This allows the machine not only to ensure speedy coverage but also enables it to propel seriously dense mediums.
However, as the Peter Parker principle states,
With great power, there must also come great responsibility
(Amazing Fantasy #15 – 1962)
Wielding a 3000 PSI gun may make light work of your projects — but it could also wreck them. This much ferocity can damage softer materials, lead to ridiculous amounts of paint wastage, and even cut through your skin. Hence, why this How to Paint With an Airless Paint Sprayer article is valuable reading!
If you want more information on the history and working operation of these hydraulic machines — check out my Complete Guide to Airless Sprayers.

Why Is Using An Airless Paint Sprayer More Challenging Than Other Formats?
Sure, these airless sprayers are a little more complicated than their turbine and pneumatic cousins — but the skills required are within the realms of most competent DIYers.
Think of paint sprayers as cycles. Air-driven units, especially turbines, are akin to tricycles — anyone can use them with little experience, even kids (that said, don’t give Little Jimmy a turbine sprayer — that’s asking for trouble). Airless machines are the bicycles — sure, they take a little practice to become proficient, but with patience, it becomes second nature.
The factors that make using airless paint sprayer machines a little more demanding are:
- High-pressure output.
- Priming requirements.
- Ensuring the correct force to suit the coating medium.
- Risk of overspray and wastage.
- Maintenance of the hydraulic pump.
- Selecting the correct nozzle tip.
However, by the time you’ve finished reading this article, you’ll be a total maestro on using an airless sprayer.
How to Use a Airless Paint Sprayer — What You Will Need to Follow This Tutorial
- An airless sprayer — such as the Graco X5.
- Stain, sealer, varnish, or paint as your project demands.
- Paint thinner — if required.
- Mineral spirits.
- Paint funnel.
- Paint filter.
- Can pourer.
- Paint stirrer sticks.
- Mixing cups.
- Heat gun and a manual scraper.
- Waste cardboard — for test sprays.
- Conditioner — if you’re utilizing latex paint.
- Protective equipment — goggles, coveralls, face mask, and gloves.
- Viscosity cup — should you need to thin your paint.
- Dish soap, sponge, and a bucket.
- Teflon tape.
- Drop cloths.
- Power sander.
- Polythene sheeting.
- Masking tape.
- Sandpaper.
- Cleaning cloth.
How to Paint With Airless Sprayer — Step-by-Step Guide
Step 1 — Select Your Paint and Sprayer
- Primer — bare or stripped areas on wood and metal.
- Latex — for ceilings and walls.
- Stains/sealers, varnishes, and urethanes — wood.
- Acrylic — hobby crafting.
- Enamels — areas that are subject to abuse, such as baseboards and kitchen cupboards.
- Urethanes — motor vehicles.
2. Get hold of a suitable sprayer to match your coating medium, required finish, and project scale — check out this article for a guide.

Step 2 — Prepare Yourself
Some paints, especially those that are solvent-based, dry rapidly. If you stop-and-start your work due to distractions from kids, a demanding partner, the ball-game, or the call of a cold beer, this can lead to tell-tale overlapping — where you’re applying a wet medium onto recently dried paint.
On smaller projects, you will be able to complete the job in one session. On larger work, such as border fencing — set yourself target areas to finish on different phases, always ensuring that you finish the current panel/post before taking a break to ensure a pleasing and even coat.
Ok, you’re not spraying anything yet. But, you are imminently going to be preparing your work area, readying the coating medium, and setting up your machine.

Step 3 — Prepare the Spraying Location and Target Material
Indoors, the shielding requirements may be more extensive — especially if you’re attacking walls and ceilings. Ideally, relocate as much furniture and ornaments as you can — or move to the center of the room and cover with drop cloths. Furthermore, ensure that the floor area is also protected with polythene sheets.
Additionally, whether painting in an interior or exterior location — shield any areas close to your spraying area, especially around edges, with newspaper and masking tape.
Whether you’re tackling an exterior wall, fence, car, or cabinet — the process is almost identical.
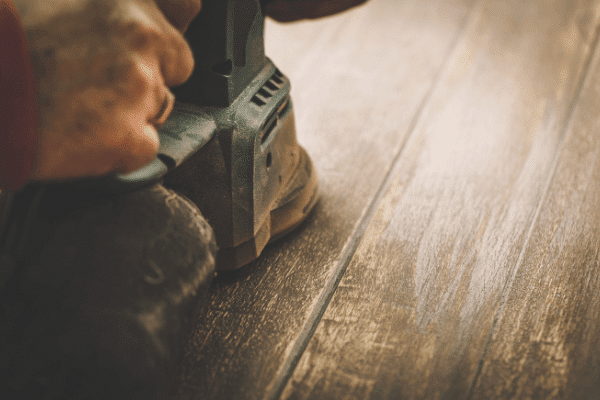
10. If required, sand the area with glass/sandpaper or a power sander — bear in mind that some materials will require more prep than others. For example, an antique table will require extensive attention to ensure the smoothest of coats, whereas rough-sawn fence posts will require little sanding.
Just a quick heads-up.
If your house, outbuildings, or fencing was erected in 1978 or before — old paint-covered woodwork may contain lead. While safe as it sits there on your banister or door — if you sand or scrape the material, it can create lead dust, which is hazardous to your health.
However, you can easily obtain consumer-grade lead-testing kits to check your old paintwork is safe to sand. The Environmental Protection Agency (EPA) states that should you find any lead-based mediums, you must utilize a pro to guarantee its safe removal — a list of accredited testing facilities can be found here.
11. If your project requires the complete removal of old paint coats — use a heat gun and scraper to effortlessly take off this material. Check out my guide on Removing Paint With a Heat Gun for more information.

Step 4 — Prepare the Coating Medium
14. Most airless sprayers, whether the pro-grade Graco 390 or the DIY-focused Himalaya, can deliver the majority of mediums without thinning. However, if you’re planning on knocking out seriously viscous paints like epoxies, or you just want a relatively thin coat — dilution may be necessary.
Ideally, use a viscosity cup, paint stirrers, plastic mixing cups, and the instructions included with your sprayer to thin the paint correctly — I’ve compiled a complete 101 on paint thinning here.
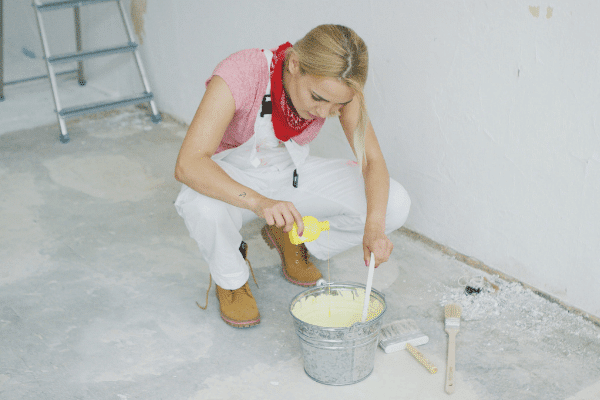
Waterborne paints can be thinned with clean water, adding a little conditioner to latex paints for a smoother delivery. Use mineral spirits for oil-based paints.
Utilizing a can pourer or a paint funnel eliminates the risk of drips, mess, and spills. Additionally, consider passing the medium through a paint filter to eliminate any debris that could wreck your final coat.
Step 5 — Prepare Your Sprayer
17. Choose and fit the correct nozzle/tip. Many airless sprayers — such as the Graco Ultra Max 17M367, arrive with a choice of airheads, others require an additional purchase. Ensure that your gun features a nozzle end that is suitable for your coverage medium. For more advice, check out my guide on Airless Spray Tips.
Step 6 — How to Prime Airless Paint Sprayer
Step 7 — Make Some Test Sprays
- Paint flows smoothly — if it splutters, crank up the pressure.
- There’s no overspray or pooling — if it’s an issue, step down the pressure.
- The fan pattern is correct — horizontal, vertical, or circular.
- Spray width is suitable for your target medium — if not, adjust the nozzle.
- There are no ‘tails’ — if there are, raise the output pressure.
Step 8 — Spraying the Target Material
Step 9 — Completion and Cleaning
41. Break down the gun, hose, cup (if a handheld machine) and clean thoroughly. Check your machine’s instruction guide for model-specific procedures, with some units — such as the ProX17 — allowing you to perform a flush-thru while the sprayer is still switched on. However, for general advice, check out my How to Clean a Paint Sprayer 101.
How to Use an Airless Sprayer Conclusion
Once you’ve grasped the method, you have the tools and knowledge to address the mother-of-all projects while utilizing some of the densest mediums in the painting category. What’s more, you know how to do it safely and with the most satisfying results.
I hope that you’ve enjoyed this article, and understand why I felt it important to illustrate that airless hydraulic machines aren’t just for the trade pros. Should you have a buddy or work colleague who you believe may also benefit from this How to Use Airless Paint Sprayer guide, please feel free to share!
How to Paint With Airless Spray Gun FAQs
Q: What Is Airless Paint Sprayer?
An airless paint sprayer utilizes a hydraulic pump to drive the coating medium — as opposed to turbines, which use fans and pneumatic guns that attach to air compressors.
Q: What Is the Best Airless Paint Sprayer?
In my opinion, the ultimate airless sprayer is the Graco 390 — favored by both contractors and ardent DIYers. It features a mighty 0.625 horsepower unit that can knock out the densest of paints. Furthermore, with 0.47 gallons per minute delivery, it allows for rapid coverage on mammoth jobs.
To check out the best airless units on the market, take a look at my personal picks.
Q: How Do You Set Up a Graco Airless Sprayer?
Boasting time-saving features such as easy-priming and flush-thru systems, Graco sprayers have some model-specific procedures for initial setup. For a complete guide, have a look at my Graco How To.
Q: Do Airless Sprayers Use More Paint?
Traditional airless machines, due to their immense power output, typically have the highest level of overspray in the entire power-painting category. However, there are some excellent HEA (high-efficiency airless) units that reduce this wastage by 55 percent. An excellent example is the prosumer level Wagner Control 130.
Q: Is an Airless Sprayer Easy to Use?
While more complicated in setup and operation than pneumatic and turbine machines, airless sprayers can be operated by home users. DIY airless units, such as the Graco X7, have numerous features that take the headaches and complications out of hydraulic painting.
Q: What Size Compressor Do I Need for an Airless Sprayer?
You don’t need a compressor. Airless sprayers utilize a hydraulic pump to drive the paint, as opposed to pressured air concomitant to pneumatic models.


