Many people complain about the lack of precision when it comes to miter saws, but the reason is usually not the machine itself but instead the whole setup behind it.
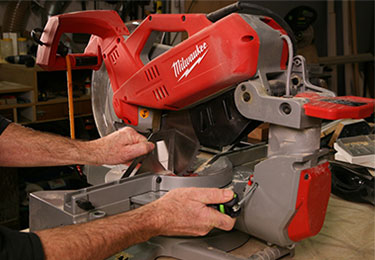
Therefore, it’s very important that you set up the unit correctly and according to standards before you can expect a top-notch 90-degree cut.
Before we take a look at how to set up and adjust your saw, we need to go through some basic things that every owner should be aware of before deciding to fine-tune their tools.
What is a Miter Saw?
Unlike other widely used saws, this particular type is specialized to cut at a variety of angles. A vast majority of models are mounted on a swing arm which can pivot in two directions (left and right) in order to produce as many angles as possible.
The miter base usually features different marks that are designed to help you find the right angle instead of using additional tools or simply guessing. The most basic bases are marked at 0, 45, and 90 degrees. However, a lot of modern miter saws feature plenty of stops beside these three basic ones.
What is it Used For?
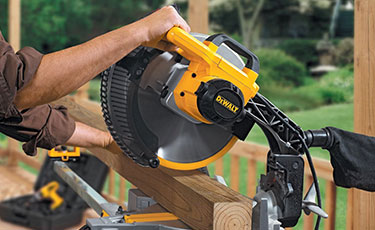
In theory, you can use a miter saw for a vast variety of applications. However, it excels at projects such as crown molding, frame cutting, window casings, and etcetera.
As you can tell, it’s a somewhat special tool that is ideal for dealing with particularly sensitive cuts meaning you have to have at least some previous experience before deciding to tackle a project.
How to Set it up Properly?
One of the first things you need to think about is whether the blade is in a square position to the base. The easiest way to determine this is to position a square between the blade and the base and look for any gaps. More often than not, you’ll find it is out of line meaning it requires some adjustments and fine-tuning. In order to alleviate the hassles and quickly tune the machine, follow these steps –
Preparing the Test Piece
For this step, you will need two boards and two perfect edges on both of them. It’s a good thing to find wider pieces, preferably as wide as you can go with your particular saw model. Make sure that the edge of the plywood is clean and straight when lined up against the base fence or else you’ll get faulty results.
This step is for reference purposes only, to see how well-positioned the blade is before you start aligning it according to your requirements and preferences. Once you’ve found a piece of wood and made sure it’s as straight as possible – cut it in half.
Once you’ve made the cut, take the square and have a look at the piece to see how exactly square the cut is according to your instrument.
Remember, you’re trying to get it as close to alignment as possible instead of going for the perfect alignment just yet. If the cut is open on the front, that means the fence has to come further out. In case the cut is open on the back, you need to re-adjust the fence and push it a bit in.
Adjusting the Fence
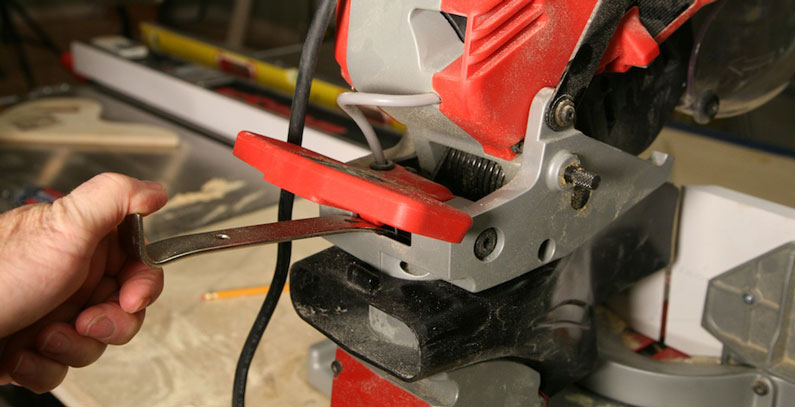
Depending on the position of the deviation, you either have to push the fence in or pull it out. However, it usually doesn’t take more than a couple of millimeters in any direction to get the perfect alignment, depending on the initial aberration.
Therefore, you have to pay special attention and do this step correctly or else you’ll jeopardize further alignment attempts.
The best way to do this is to take a small piece of wood, put it against the fence, and mark the current position on the base with a sharp pen. Once you’ve done that, you have a pretty good reference point of the previous status and position of the fence. Now, depending on whether it needs to get pushed or pulled, gently tap the fence in the desired direction until you cover the market line with the reference piece.
After moving the fence, make another cut and see if it gets straightened out. Repeat the process until you get a perfect cut before heading to the next step.
Fine Adjusting
Once you’re done with the square, cut another small piece of that same plank. Take the block that you have cut off, flip it over (180 degrees) and put it against the remaining longer piece. Assuming you’ve set up the fence correctly, this process should give you a general idea of how close are you to the perfect alignment.
More often than not, this will be the last step you’ll take. However, in case you aren’t able to align the saw perfectly by using these methods, there is one more that should more or less guarantee success.
The Five-cut Method
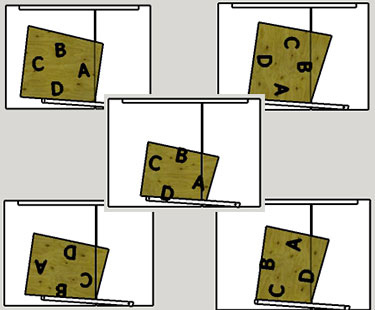
In order for this method to work, you need a board that has four square corners. Label the edges respectively from 1 to 4. However, because you are going to make five cuts, the edge that is labeled as 1 will be cut twice thus being the number 5 at the same time. In simpler words, cut through 1-4 and then cut 1 again.
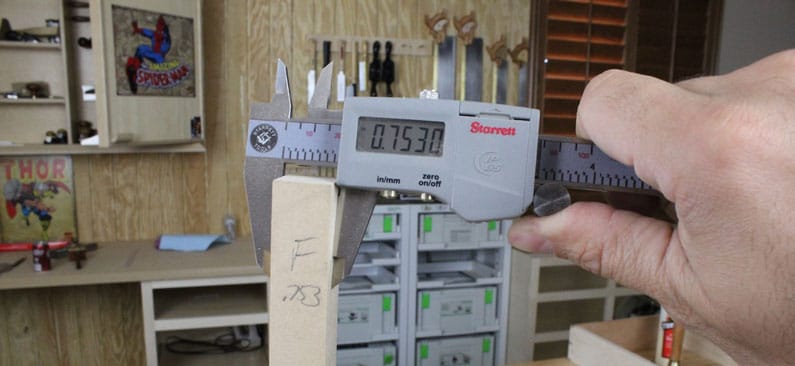
Take the fifth piece and mark the front and back with the back being the closer edge to the operator. The next step is to measure the difference between these two edges. Make sure you’re using precise tools because most of the time the deviation is measured in millimeters.
If the front side is wider than the rear side, the fence needs to be moved closer to the operator. In case the rear side is wider, the fence needs to go further in. Once you calculate the difference, divide that number by 5 and you’ll get a value you’ve been looking for.
For example, if one side is 15mm wide and the other is 16mm wide, that means the overall difference is 1mm. Now, dividing 1mm by 5 gives a result of 0.2mm. That means you need to move the fence up or down, depending which side was wider by .2mm.
Confirmation
In order to make sure you’ve done everything properly, label the board again and make another five cuts the same way you did before. Repeat the measuring process and you should get a much smaller difference. In fact, it should be in fractions of a millimeter.
For example, if you’ve done everything correctly, the aforementioned 1mm difference should now be about 0.01mm. After dividing that value by 5, the end result is around 0.002mm of difference. As you can assume, this can be considered perfect as it is very hard to annul the fence perfectly to zero. In fact, the difference of .002mm is more or less unnoticeable.
The Conclusion
It’s important that you follow the steps correctly and pay attention to every part of a particular step or else you will jeopardize the whole calculation. It’s pretty annoying when you finish the whole process and realize you’ve made a mistake in the beginning and deviated only a couple of millimeters. While it’s certainly not the end of the world, the more you have to repeat the process, the less motivation you’ll have to try and make it as perfect as possible.
If you find it hard to visualize or comprehend some of these steps, don’t hesitate to search online and you’ll find a few useful videos by well-respected carpenters and other craftsmen that explain the whole process pretty well. The important thing to remember is to pay attention to safety at all times as you’re making the cuts. It should be a matter of common sense, but many people forget about it or get carried and lose focus. Previous experience isn’t a mandatory element here, but it’s definitely desirable and recommended.
Keep in mind that the overall build quality of your machine plays a big role in the whole process. In simpler words, if you own a cheap copy or a machine of subpar quality, don’t expect particularly high precision. On the other hand, if you’re not a devoted professional, a difference of a couple of fractions of a millimeter won’t ruin your experience by any means.


