However, while these machines are the most DIYer-friendly of the paint spraying formats — with a bit of extra guidance, you can achieve results like the pros. Hence, why I’ve put together this handy HVLP paint sprayer how to use blog.
There are few key points to address before you get started — including:
-
- How to set up an HVLP spray gun.
- How to adjust an HVLP spray gun.
- HVLP spray techniques.
So, enough chat, let’s get down to business.
What Is an HVLP Spray Gun?
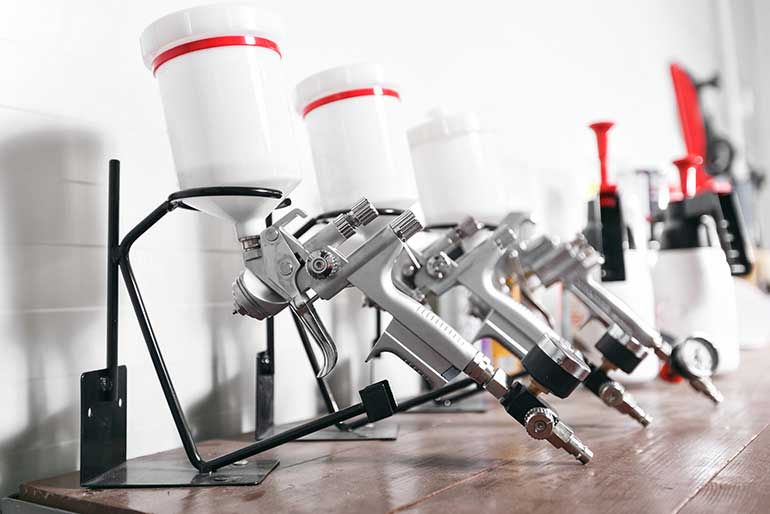
HVLP spray guns expel finely atomized coatings at a high-volume yet low-pressure. This technology results in a reduction in overspray — making them an ideal solution for home improvers planning to complete indoor projects (where minimum mess is crucial) and also for adding intricate finishing touches. That said, these machines can also be used on exterior projects.
And, when compared to an airless spray gun, HVLP units are far more efficient in terms of transfer efficiency. In that, using the former, as little as only 25 percent of your paint will end up on your actual project. If you want to know more about the differences between the two formats, check out my Airless Sprayer vs HVLP comparison.
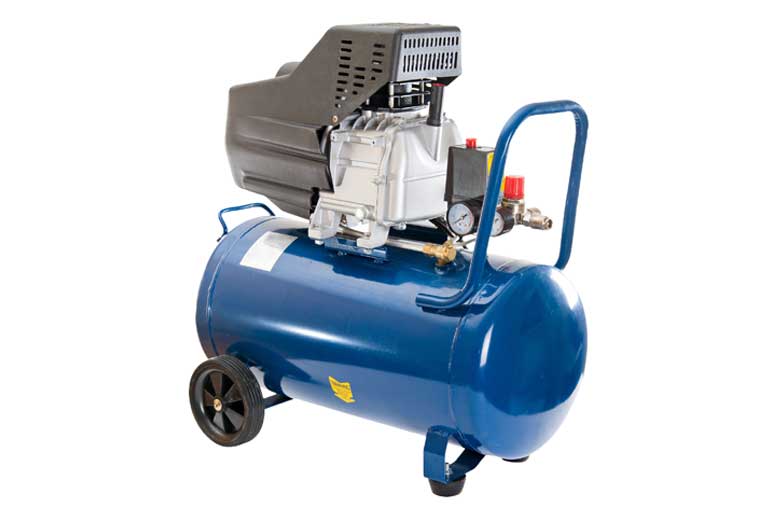
There are two types of HVLP paint sprayers — turbine-driven and compressor-powered (also referred to as pneumatic). The former provides a compact all-in-one device that’s easy to transport, while the latter tends to carry a lower price point but does require an external compressor. Admittedly, if you own plenty of air-powered tools, this may not be an issue for you. Although, if you need to buy one especially, it can ramp up the cost of your project.
However, as HVLP machines operate at a low PSI, smaller units such as the DeWalt 6 gallon air compressor should be more than adequate for the job.
But owning all the gear with no idea on how to use an HVLP paint sprayer will not get you very far — so let’s move swiftly on.
What You Need To Follow This Tutorial
For the best preparation possible, make sure you have everything to hand before you start.
-
- Paint sprayer and manual.
- Compressor (if required).
- Fluid nozzle.
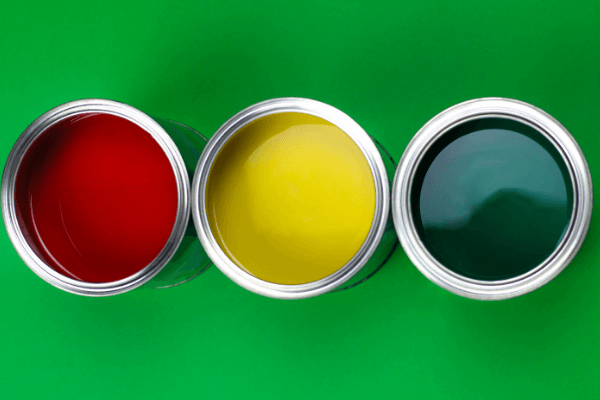
- Chosen coating.
- Scrap cardboard or paper.
- Personal protective gear (including goggles, face mask or respirator, gloves, and coveralls).
How To Set Up an Hvlp Spray Gun — Step by Step Instructions
Step 1 — Prepare Your Sprayer
For a turbine sprayer, there should be a quick setup guide on how to use the HVLP sprayer to check the best operating pressure for your unit. You can adjust this via the pressure control dial on the spray gun.
For example, if you’re planning on using a dense coating on an expansive surface area, you’ll need a larger-sized tip — nozzle size is responsible for the atomization and width of your fan pattern. This is where a sprayer such as the Wagner FLEXiO 5000 could be a great investment — it includes two different spray nozzles, which gives you extreme flexibility.
Conversely, if you’re spraying a less viscous medium (such as stain) on a detailed task, then a narrower diameter orifice will be better suited for use with an HVLP spray gun.
Hence, ensure your nozzle is compatible with your chosen material. For more information, check out my How To Find the Right Paint Sprayer Nozzles article.
How To Adjust an Hvlp Spray Gun — Step by Step Instructions
Step 2 – Test Spray and Adjustment
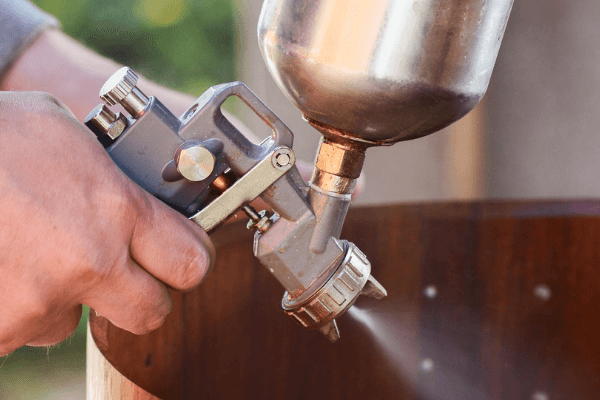
If you notice coating pooling in the center of the pattern, you’re holding your sprayer either too close or in one position for too long. If you feel that there is too much coating being delivered, dial down the material control setting slightly.
In case that doesn’t make a difference, and you’re using a pneumatic spray gun with an air regulator, slightly reduce the pressure output on the regulator.
HVLP Spraying Techniques
1. Elevate Your Project
If you have a workbench, cover the surface with a drop cloth and position your object on top. If you don’t have a workbench to hand, you can place it on top of some wooden blocks or bricks.
2. Straighten Your Spraying Arm
A lightweight unit, such as the HomeRight Super Finish Max that weighs around the 3-pound mark (with an empty container) will significantly reduce tired arms. Alternatively, a pneumatic compressor-fed gun like the Iwata 4920 mini spray gun keeps the bulk of the unit on the floor — which is a huge step in busting fatigue.
3. Aim for Thin Coats
The key to a professional-looking finish is to use thin coats. Applying thicker layers will cause paint drips and all kinds of undesirable issues.
Build the even layers by laying one pass of thin coating, then overlap it with another pass by at least 50 percent. Continue this process until you’ve completely covered your entire surface. If subsequent coats are required, repeat the process.
4. Go With The Grain
5. Spray Beyond Your Project
Although it’s not always possible, for instance, when painting a wall or ceiling, ensure you start spraying just before your target surface and just after it finishes. This will prevent any stop-and-start markings or paint pools. Additionally, try to work in one fluid pass across the length of the project for the same reason.
6. Use The Correct Orientation
7. Be Aware of Environmental Conditions
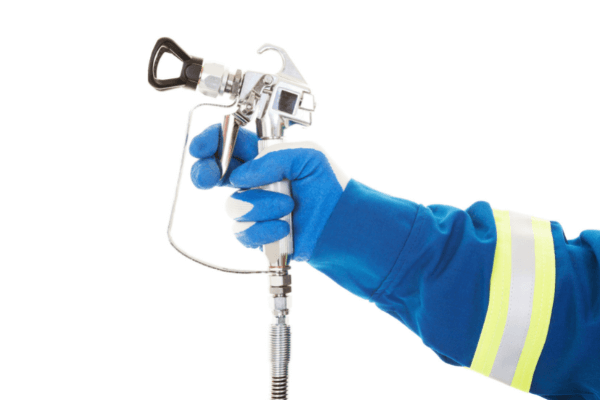
8. Personal Protection
Conclusion
What’s more, when using your device, keep my eight helpful hints at the back of your mind — they will ensure you end up with flawless results.
And, if you found this How To Use an HVLP Spray Gun blog enlightening, feel free to share it with your fellow DIY buddies.
How To Use an HVLP Spray Gun FAQs
Q: How Do You Set Up an HVLP Spray Gun?
If you’re unsure where to begin, check out my helpful guide above.
Q: Do You Have To Thin Paint for an HVLP Sprayer?
This depends on the individual paint sprayer’s output capabilities and how thick the medium is you intend to apply. Some HVLP machines such as the Central Pneumatic Gravity-fed sprayer don’t shy away when working with denser coatings.
Q: Should an HVLP Gun Be Cleaned Between Coats?
If you need to allow the paint to dry overnight (or for a considerable length of time) before applying the next coat, you should clean the unit.
Q: How Do I Get a Smooth Finish With an HVLP Sprayer?
Make sure that your settings are appropriate for your base medium and paint combination — plus, follow my eight helpful hints above for blemish-free finishes.
Q: Can I Leave Paint in My HVLP Sprayer Overnight?
You shouldn’t leave a coating in the sprayer any longer than is necessary — and certainly not overnight. This could cause irreparable damage to the unit.
Q: Can You Clean a Paint Gun With Acetone?
As a general rule, water-based coatings need to be cleaned with water and oil-based mediums with thinner or mineral spirits. Acetone can be used if you have a particularly stubborn paint. For more handy hints, take a look at my How To Clean a Paint Sprayer guide.


