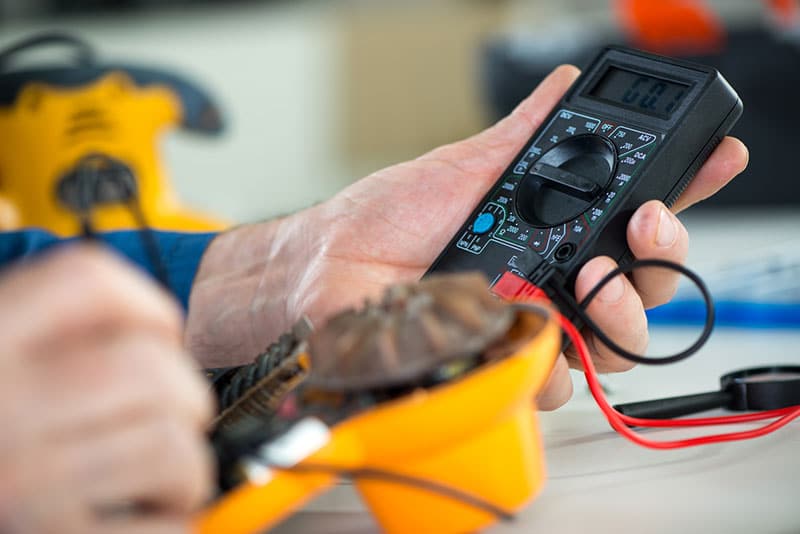
Voltmeters and multimeters are used by a myriad of professionals including electricians, maintenance workers, and mechanics.
Even the everyday handyman or do-it-yourselfer is capable of operating these helpful machines.
If you are looking for information on a digital voltmeter, you’re in the right place.
In short, the digital voltmeter is a device that measures the electrical difference between two points.

We will get to all the intricate details later, but that’s the short version.
You may have heard of digital voltmeters, but are you truly aware of how they work?
In order to be able to use these devices, you must first understand how they operate.
It may seem complicated at first, but as long as you’re patient, you will be able to use them with ease.
Voltmeters, like all forms of technology, have had a long history of evolution – beginning with the analog voltmeter.
As we take you through the growth of the digital voltmeter, you will learn more about how this handy device works for a multitude of people.
Before the digital voltmeter…
There was the analog voltmeter.
Much like the difference between a record and digital streaming music, the analog voltmeter was the precursor to the digital voltmeter.
So to understand the digital version, we must first understand how the original works.
Ultimately, the theory is simple.
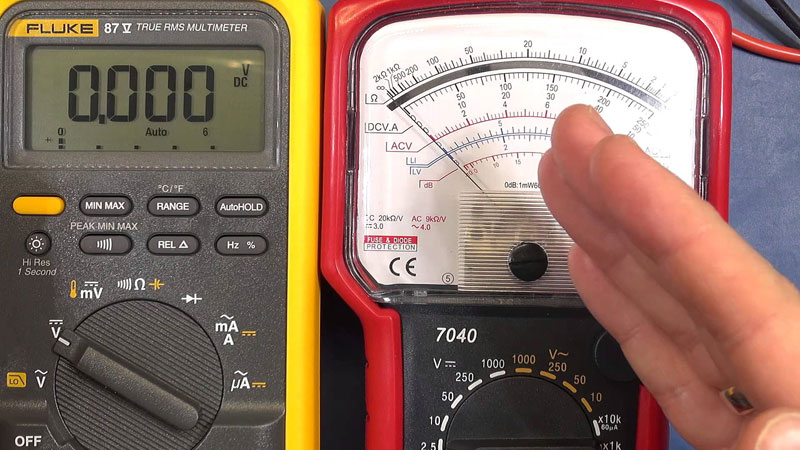
An analog voltmeter is essentially a dial with a needle running across it.
But there’s more.
The needle, or pointer, moves across the scale and measures the voltage between two points.
The science behind the analog voltmeter
The voltmeter works by moving the current through a coil. The coil is suspended between two magnets.
The coil moves depending on the voltage that is applied.
Once the electric current is applied, the interaction of the magnetic field of the coil and of the magnets create a twisting movement, which in turn makes the coil rotate.
When the coil rotates, it squeezes a spring that contradicts the rotation.
In short, the coil is proportional to the current, which is then proportional to the voltage, and this is indicated by the needle pointing on the scale.
Taking the measurement
In order to take a measurement using an analog voltmeter, you must first understand the theory behind the tool.
Known as Ohm’s Law, this electrical theory can be simplified down to three words: resistance, voltage, and current.
Essentially, Ohm’s Law states that current is the result of the voltage divided by resistance.
Using an analog voltmeter, you must estimate the voltage present and then select the appropriate scale.
Scales on an analog voltmeter go by 20, 200, and 2000 Volt scales.

Three steps you will need to take to read an analog voltmeter:
- Figure out the gap differential. Basically, this is the amount between each hash mark on the analog scale.
- Find the range scale. Multiply the range selected with the needle reading.
- Multiply. Take the range selected and multiply by the needle on the graph.
Now you’re aware of how the analog voltmeter works, and how you are able to take a reading.
Which brings us to the digital voltmeter
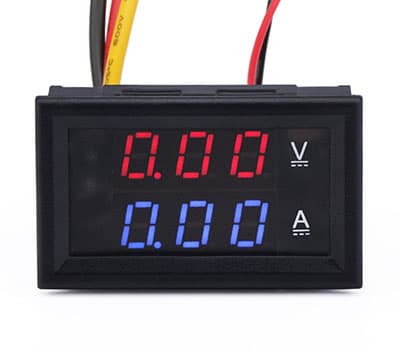
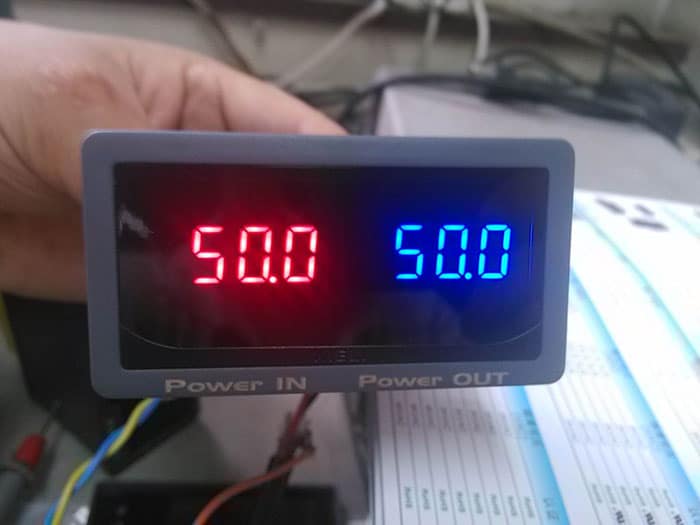
The digital voltmeter works essentially like the analog voltmeter, except it gives a digital numerical reading via a converter.
The analog-to-digital converter, also known or referred to as ADC or A/D, is a device that takes the input analog voltage to a number proportional to the current.
Digital voltmeters must be calibrated for accuracy, generally by using the same voltage standard, known as the Weston cell.
Digital voltmeter accuracy can be affected by the following factors:
- Temperature
- Voltage variations
- Calibration frequency
Advantages of digital voltmeters
Like newer editions of most things, there are advantages to the digital versus the analog voltmeter:
- Eliminates human error readings
- Quick readings
- Cheaper
- Compact and portable

Multimeters
Like all new technology, voltmeters have evolved into devices that are capable of more than just reading voltage.
While the digital voltmeter measures voltage, the multimeter, as its name suggests, can read multiple electric measurements, including:
- Voltage
- Ammeter
- Ohmmeter
Because they are capable of testing more than just voltage, they are useful for those professionals who need specific readings for several different tasks.
Taking a reading
Much easier than taking a reading using an analog voltmeter, multimeters are now the new hot tool to use in the electrical industry.
Many multimeters are easy to read, but if you have questions regarding any of these, like any other electronic device, you can refer to the user manual.
Most multimeters read in meters, and they are measured the same way you would measure meters of volume or distance. The measurements are listed relatively clearly on the face of the multimeter.
Voltage, current, and resistance are noted generally by abbreviations or symbols. These will vary depending on which type of multimeter you are using.
Finding your range
Depending on which multimeter you are using, you may notice that some will have an auto-ranging feature, which does not require you to know the range you are looking for; while others will ask you to manually select a range.
You are able to switch the range on a manual multimeter in order to get an accurate read. This may take a few tries.
Once you have decided how and what you are testing, you are able to switch the dial to make your measurement.
Preparing to measure
Most multimeters have a dial on the front that allows you to choose what you would like to measure.
You’ll also notice that they have two wires, or leads, which connect to your multimeter and the circuit you are testing.
One lead should be black, and one red. Red is positive, black for negative.
Depending on what you are trying to read (voltage, current) you will plug each of these leads into your multimeter in the appropriate jack.
The other ends of the probes will go into your circuit.
For example, if you’re testing the voltage on a battery, you would plug your black probe into the COM port on your multimeter.
The red probe would then go into the VΩmA port.
You can then turn on your multimeter, and set your dial to direct voltage (on your meter it will be labeled as DC. Direct voltage is how most electronics work in your home, including batteries).
If your multimeter is not auto-ranging, you will have to set the range.
If you are totally unsure of which range to set, start out with the highest range and work your way down.
Insert your red probe into the positive end, and your black probe into the negative end, respectively.
Troubleshooting
Range becomes tricky when you are testing voltage. If you set the range too high, you will get an inaccurate reading.
You will know if you have set the range too low if you receive a 1 or 0 reading. This means that the multimeter is overloaded or out of range.
You are not in danger, but you will have to set the range a bit higher to get a better reading.
Remember, this is just testing voltage using the multimeter – you are not limited to only testing voltage!
You can switch up the dial once you decide whether you are testing resistance, voltage, or continuity.

Choosing the best device for you
Like any other device, it takes thought and time to weed through the hundreds of voltmeters and multimeters on the market.
If you are a professional, take a look at what your cohorts are using, or see which type they advise.
You can also take a look at product reviews, which give an honest opinion on how each device will work and who they will work best for.
Depending on your basic knowledge of how these devices work, you may opt for a less technical multimeter, whereas seasoned vets may lean towards using an analog voltmeter.
The device you choose also depends on what you are looking to measure. Remember, voltmeters measure voltage, while multimeters have multiple testing capabilities.
Conclusion
In order to use a voltmeter or multimeter, you must first understand what they entail and how they work.
Ultimately, both voltmeters and multimeters measure the electricity between two points or multiple points.
They are used in a variety of different situations and professions, namely electricians and mechanics use them to test batteries and currents within a home or business.
Voltmeters have evolved throughout the years, making the jobs of electrical professionals easier, and enabling homeowners and DIY’ers to check their own circuits during home projects.
Whichever type of voltmeter or multimeter you choose, whether it be high-tech or analog, you will be better able to test voltage and make your life easier.
For questions on specific products, reach out to us for more knowledge on multimeters.


