#1 – The Safety Precautions
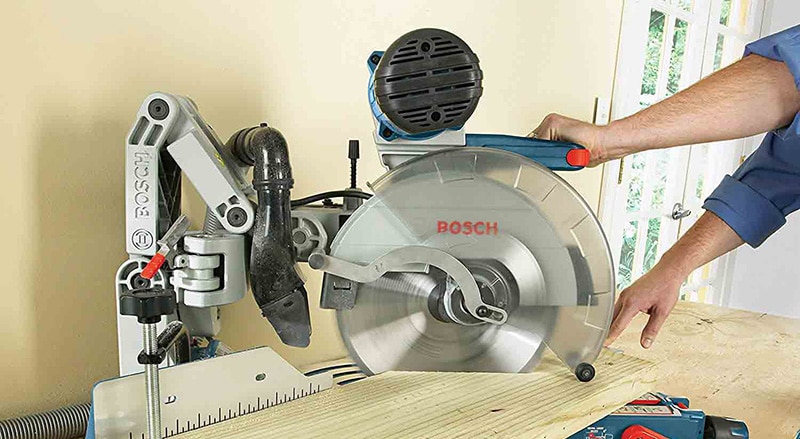
Those operating the power tools should always use the safety equipment – it should be present on them at all times. If you have ever visited a woodworking factory in your life, you’ve probably seen a sign with this inscription somewhere in the facility. As you can already guess, the purpose of that sign indeed isn’t decoration. It’s there to remind the workers that using power tools, such as the miter saw, is not a joke, and can be quite hazardous if you’re not wearing the necessary safety equipment. Many companies even have penalties for the power tool operators that don’t obey the rules. Machines like the miter saw can easily injure a person that’s unwise enough not to take this tool seriously. That’s why it’s of the highest importance to always carry the safety equipment when working with a miter saw – and that includes things like gloves, headgear, and earplugs.
#2 – The Proper Maintenance
The second essential tip for using a miter saw is to always perform regular maintenance on it. The thing that you’re probably thinking now is – this has something to do with safety again, right? Well, yes, it does. As you can already guess, the improper maintenance is sure to lead to malfunction. And you certainly don’t want the miter saw to malfunction while you’re using it! Things like broken parts and dull blades can leave one with serious, possibly life-threatening injuries. In order to prevent these things from happening, you’ll have to maintain your routine of replacing broken parts and lubricating them from time to time. In this way, your machine will be reliable, and you won’t have to worry about injuries while operating it.
#3 – Tuning Up the Saw
Every time you purchase a new saw, you will have to check its accuracy. Even though the saws are set at the factory that constructed them, they can still come out of adjustment while they’re being shipped. One should also check the accuracy if he experiences kickbacks (which occur when you hit a knot in the material, and the device kicks back) – that’s a great time to check the tool. Another good practice is checking the miter saw at least a few times during the year, as it can come out of adjustment if it’s used regularly. A word of advice – when tuning up this power tool, you’ll have to make sure that the fence is square to the blade and that the blade is square to the table.
#4 – Replacing the Stock Saw Blade
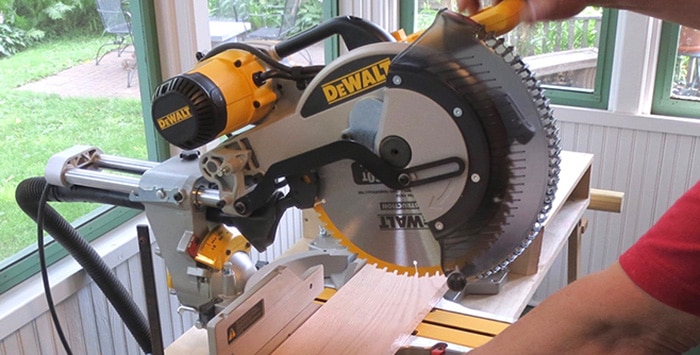
Generally, the saw blades that feature more teeth are capable of producing crisper and cleaner cuts, while those with fewer teeth usually deliver cuts that are far rougher. Blades sporting more teeth are exceptionally good for the DIY furniture projects, while those with a lesser number of teeth can come in handy for projects where the look of the cuts is not essential. Unfortunately for the DIY furniture enthusiasts, most models usually come with blades that are designed for cutting studs, and those aren’t the best choice for the more delicate work. The first upgrade we recommend is to purchase a brand new blade – such as Freud 100 tooth Diablo Ultra Fine. This blade is capable of cutting through the wood like the hot knife cuts through butter, leaving the crisp and smooth cuts that are great for the DIY furniture projects. So, don’t hesitate and get yourself a new blade if you’re interested in finer woodworking projects.
#5 – Trimming the Ends
Wood coming from the factories is not perfect – every DIY addict will confirm this. Holding a speed square against the random board’s end will rarely show you that it has a perfect square shape. In order to improve the quality of the furniture you intend to make, you’ll always have to square the board’s ends before you decide to cut out the pieces to length. Simply make a cut on the board’s end – you won’t have to cut off a lot of it, but just enough to make a proper square at the end. Once you do that, you’ll be ready to start cutting to length.
#6 – Leaving a Line
One of our readers sent us a pretty interesting story. Years ago, he took a timber framing course, where his instructor used to repeat the same mantra over and over again – “leave the line, don’t forget to leave a line.” This is, actually, quite an important tip, and one that we’ve decided to incorporate into this article. The reason why the instructor insisted on not cutting the line is that leaving it allows one to tune the cut in case the board needs to be a bit shorter. Once you cut it too short, there’s no going back – it’s as simple as that. So, don’t forget to leave the line!
#7 – The Full Stop
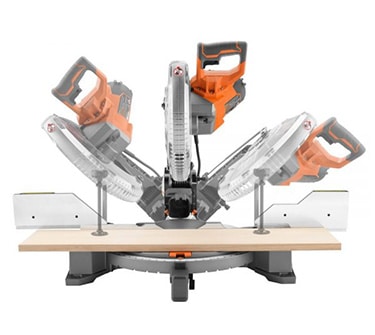
When you’re using your miter saw to make a cut, always let the blade come to a full a stop before you decide to raise it. If you decide to lower the blade and then lift it while it’s still running, the blade will be cutting in both the downswing and the upswing directions. As expected, this can have an effect on the length of the cut you initially wanted. So, in order to avoid the unintentional changes to the board’s length, simply let the blade come to a full stop before you decide to raise it.
#8 – Making Micro Adjustments
Remember all that “leaving the line” talk? Well, what if you have to take off just a small amount of wood in order to get the desired shape? This is actually quite easy – the blade will help you with that. Turn off the saw and lower the blade as far as you can, and then slide the piece of wood until it touches the blade’s side area. Keep your board in place and raise the blade. While lowering it again, you will notice that the teeth are merely touching the wood. Raise it once again, turn the saw on, and lower the blade to do the cutting. As expected, the blade will cut off just a small amount of the wood. This technique can be of great help whenever you want to make some small adjustments to your workpiece.
#9 – The Repetitive Cuts
Projects such as the outdoor coffee table, garden cabinet, outdoor beverage table, and similar things require a lot of repetitive cuts. You don’t have to measure and cut each piece – do the measuring just once and set up a stop. This would be a piece of scrap wood that you can clamp to your stand with a spring clamp. Once it’s installed, it will allow you to simply slide your workpiece to it and then cut a few pieces of wood to the same desired length. This is a huge time saver and something that ensures that all project pieces have a proper fit.
#10 – Get a Stand
Why would one want to purchase a miter saw stand? Imagine the following situation: you put your machine on the workbench to make the necessary cuts and then move it to the floor so that you can put your project together (assemble it). But then you notice that one of your pieces is just too short, and your project is standing there clamped on the workbench. You have no choice but to bend down and do the cutting right there on the floor. That’s precisely why getting a miter stand saw can be a very wise upgrade to your workshop. Fortunately, these things aren’t as expensive as they once were.
#11 – Giving the Throat Plate a Lift
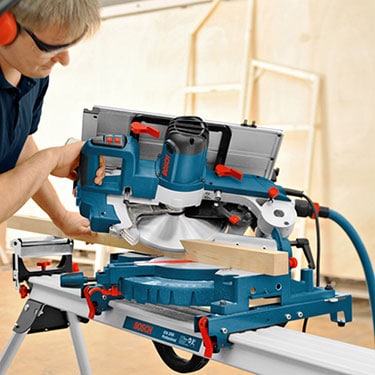
When your machine plunges through the workpiece, any gap that appears between the throat plate and the wood will leave the exterior fibers unsupported. This usually leads to splintering on the bottom face. You will have to use a straightedge to find out if your throat plate is aligned with the saw table. Once you find one of those previously mentioned gaps, you can take a tape and stick a few layers of it over the throat plate in order to build it up. After that, you can slice the blade through it while leaving the tape in place.
#12 – Never Cut Pieces Smaller Than 8″
All experienced woodworking enthusiasts will tell you the same thing – never operate your machine on tiny wood pieces. Simply put, a miter saw isn’t designed to cut pieces of wood that are smaller than 8 inches (20 centimeters). The reason behind that is the fact that the saw can damage the surface on which your workpiece is resting, which will, in turn, damage the saw itself and lead to severe injuries. Nobody wants their saw to disengage from the machine and bounce around the workshop! If you really have to cut a small piece of wood, just use another tool – even if that’s about an old-fashioned, manually-operated saw.
#13 – The Brake Control
Brakes on this machine allow the operator to prevent injuries while he’s cutting the wood. They are capable of slowing down the saw until it stops spinning – but only in a particular position. While cutting, you are pulling the saw towards the workpiece, and once you’re done with it, it’s important not to place the next piece of wood in line. No matter how good your brakes are, remember that they simply can’t instantly stop the saw. That’s why it’s pretty easy to see that sliding a new workpiece horizontally towards the working saw simply can’t be a good idea. Always wait for the blade to completely stop spinning before starting to work on the next workpiece.
#14 – Online Owner’s Manual
If you ever happen to have troubles with your miter saw, and just can’t find the owner’s manual anywhere around the house, remember that you can always look online. You can simply enter your model’s name (and the make of the saw if needed) into the internet browser and there will be an online version of the user manual in at least one of the websites.
#15 – Avoid Hasty Moves
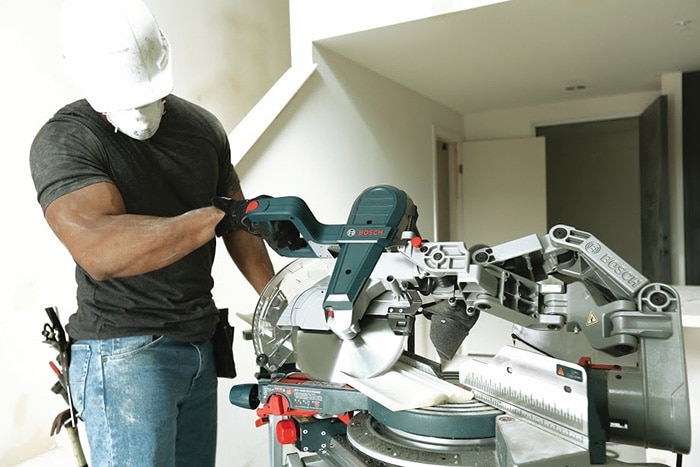
As we already said, a miter saw can be extremely dangerous when used hastily and without concentration. This means that under no circumstances one should use this machine if he’s under stress, annoyed, or anxious. If your thoughts wander off while you’re using the device, you will be risking terrible injuries. Stay calm and concentrated for as long as you’re operating the saw.


