How to Paint a Fence With a Sprayer
Introduction
Fences are usually the first thing your visitors or passersby notice about your house and — depending on the appearance — they could form preconceived notions about you. Painting a fence with a sprayer can change all that!
A painted robust fence sends a different message. Smart homeowners understand this and make the appearance of their fence a priority on their to-do list.
You don’t have to leave your old fence ugly when you can make it attractive with just a few coats of paint.
Painting your fence with a sprayer will help to protect and preserve it from extreme weather conditions, while also improving the overall curb appeal of your home.
This guide covers;
- How to prepare your fence
- What tools you may need
- How to paint a fence with a sprayer
Painting your fence with a sprayer will help to protect and preserve it from extreme weather conditions, while also improving the overall curb appeal of your home.
Everything You’ll Need to Paint Your Fence With a Sprayer
Paint
Before you begin painting your fence, you’ll first have to decide on a preferred color.
Some people prefer their fence color to blend in naturally with the overall feel of their home, while others like to get creative and light it up! However, it all comes down to personal taste.
Whichever one you choose — you have to ensure that your paints are made for exterior wood, otherwise, it would wipe clean or be washed off in the first rain shower.

Brushes/Spray Equipment
There has always been a question about which is better among the two — but here’s the thing.
If you have an extensive amount of fencing to paint, it will be time consuming and challenging to paint by brush.
Investing in a pump sprayer will make the process 10 times quicker, easier, and leave your fence with an exceptional finish.
However, you want to also make sure that the stain you choose will work with the spray of your choice.
Other Suggested Tools & Equipment
- Safety and protection equipment such as a hat or spray sock to cover the head, dust mask, safety goggles/glasses.
- Spray tip extension for hard-to-reach zones
- Two empty buckets for priming the sprayer and for cleanup
- Spray shield, stir sticks, extension cord, step ladder, cleaning rags
- Paint strainer bag — to prevent tip plugs and ensure a better finish
- Tarps, drop cloths, or plastic sheeting
- Pressure roller kit
- Pump armor storage fluid
- Stiff nylon brushes for cleanup
- Paintbrush for touch-ups
- Painter’s masking tape
- Additional airless hose sections

Step by Step Guide on Painting your Fence With a Sprayer.
Working With the Weather
If you’ve just recently constructed your wood fence, you should leave it for two to five weeks before applying stain or paint.
Moisture in unseasoned wood can make paint adhesion difficult and also cause warping.
It’s best to wait for summer, on a dry and warm day with little or no wind. If you spray your fence on a windy day, the paint or stain can drift away and get messy.
You should begin painting in the morning before the sun comes up. Heated wood can make the paint quickly evaporate, causing cracks and other deformities. You don’t want that — so make sure to check the weather forecast first.
Prepare the Fence Surface

It is standard practice to clean and clear your fence and its surroundings before painting your fence with a sprayer.
Remove any cobwebs, dust, or debris from the trellis-work and wood surface, using a counter brush. A power washer can get the work done quicker and more efficiently — just keep in mind to allow the fence to dry thoroughly before applying paint.
If the wood was previously painted, then use P240g sandpaper to lightly sand the surface. If it is bare wood, you can improve its adhesion to the paint by lightly sanding it until the surface is smooth. Make sure to fill any cracks or holes with a good quality exterior filler.
If you notice any signs of damaged boards, cracks, or decay, then you should deal with these before painting.
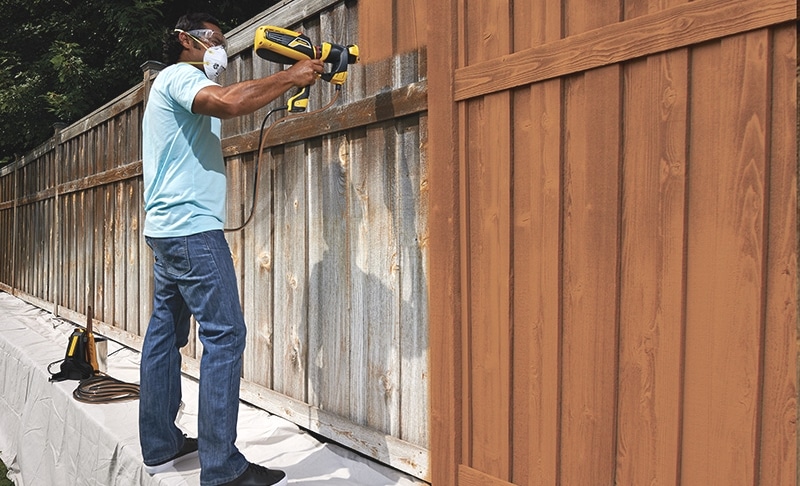
You cannot begin spraying on your fence until you’ve protected everything in the vicinity. If you have vegetation or any vehicles nearby, ensure to cover them first. That also includes you — remember to have your eye protection and face mask on at all times!
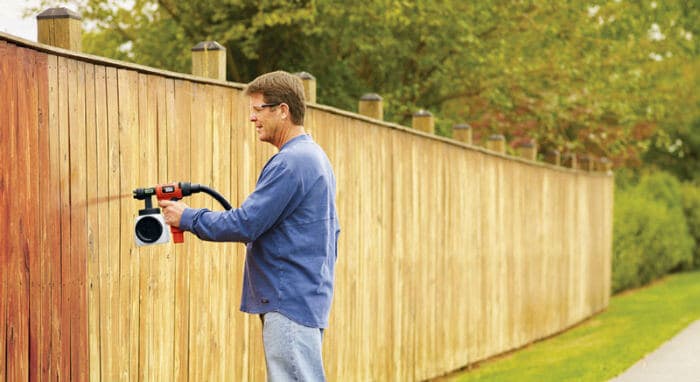
Start Painting Your Fence

After you have chosen your painting tools, you’ll need to thin down your paint, usually by about 5-10 percent. It needs to work well with your sprayer. To perform this process, you should be mindful of the paint’s type, thickness, and the weather conditions,
If you are using multiple paints, mix them together, and stir well to ensure color consistency and even distribution.
When spraying, make sure to follow the direction of the wood grain so that the paint can get into tiny nooks and crannies. Start from the top of the fence then work your way down, so you can catch any drips.
If necessary, allow another day for the paint to dry before scrutinizing for any inconsistencies.
Your fence may only need to be coated once, depending on the quality of the paint.
That said, you should add another layer if you find any inconsistencies. This will ensure a smooth finish.
Cleaning Up

Allow considerable time for the stain or paint to dry. Then remove all coverings, replace any light fixtures, and return any furniture or other items to their original location.
Once you’re done, it’s important to clean your sprayer right away so the paint doesn’t stick on it or inside it.
Depending on the sprayer you have used, you may want to follow the cleaning process outlined in the operational manual. Alternatively, check out our article on how to clean a paint sprayer. Use warm water to clean your brushes if you used ordinary paint or white spirit if you used oil paint.
And you are done! How difficult was that? Congratulations on your achievement! Your fence will now look good for years to come.
Conclusion
Anyone can use a sprayer to paint a fence and get excellent results without being a pro — as long as they follow the steps outlined here correctly.
Choose your time for painting wisely. Allow plenty of time to finish the work before the end of the day, and postpone to another day if bad weather is forecast.
Cover the items and area around your fence, wear proper safety gear, prepare your painting tools, and get ready to give your fence a nice and pretty look!
See? Painting a fence with a sprayer is not that hard — It’s relatively simple and worth it in the long run!


