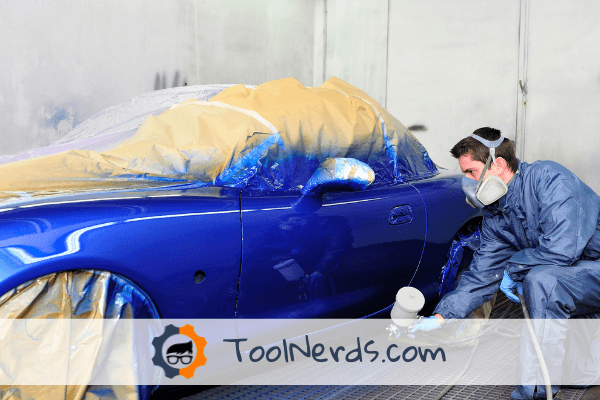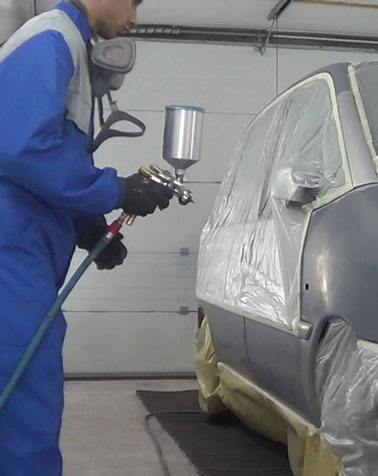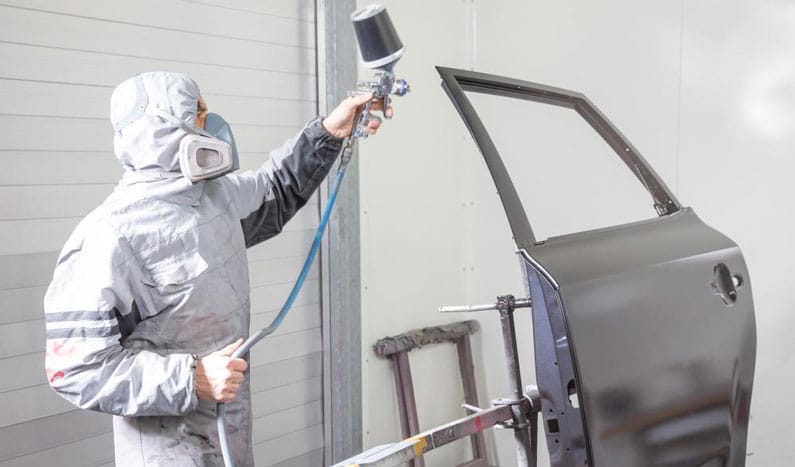
The process can be challenging and intimidating for the motor spraying newbie — after all, if your car is your pride and joy, you don’t want to wreck it with a damn awful paint job. However, by following a few key steps, using the correct equipment, and with a little practice — you too can become an LVLP spraying automotive expert.
Why Use an LVLP Spray Gun for Car Painting?
Firstly, ditch any ideas of using a brush or a roller — unless you’re just painting your car with a number for a demolition derby. These manual methods will simply lead to uneven application, lost bristles, and tell-tale brush marks and roller stipples — shouting to the world that you attempted a ridiculous DIY paint recoat.
Airless machines are completely out of the picture too — knocking out over 3000 PSI, these units are so powerful they can strip off primer and dent soft metal chassis. You can use a turbine machine, but ensure that it has a suitably fine tip (around 1.3 mm) powered by a multitude of fan stages to achieve smooth atomization — such as the Fuji Spray Mini-Mite 5. Or, alternatively, a turbine unit that’s designed for touch-ups, like the Wagner Motocoat. For a complete rundown of the ultimate car sprayers, check out my Best Automotive Power Painters article.
However, to spray like an automotive pro — you need an LVLP gun.
Using a low volume of air combined with low pressure from an external compressor — hence LVLP — these machines promise precise control for car repainting. Internal baffles, chambers, and usually an inline regulator step-down the power to around 3-5 PSI — meaning a consistent, steady, and finely atomized fan — reducing drenching, pooling, and overspray for the ultimate bodywork coat. Check out my Top Seven LVLP guns.
But bear one thing in mind — while ideal for topcoats and clears, they’re not suited to primer application.
For these dense basecoats, you need an HVLP gun or sprayer, such as the Eastwood Concours 2, that can effortlessly knock out highly viscous paints. Admittedly, there are a few LVLP guns designed for primers — like the Transtar 7718S — which use a wide-diameter tip to ensure smooth flow. However, this is at the cost of atomization.
LVLP Spray Gun Automotive Painting — The Method

What You Need Before You Start
- Spraying zone — an outbuilding, garage, or portable paint booth.
- An LVLP gun — like the Astro EVOT14.
- Pneumatic compressor.
- Automotive topcoat paint.
- Mains cable extension cord.
- Step stool.
- Sweeping brush.
- Buffing pad.
- Paint pourer.
- Water and mop.
- Paint filters.
- Powerful vacuum — a garage-grade machine is best.
- Poly sheeting.
- Masking tape.
- Dust mask, coveralls, safety goggles, and protective gloves.
Step 1: Setting Up the Space
Theoretically, your spraying area should already be prepared — as if you’re eager to crack on with LVLP painting, it means you’ve already used an HVLP gun to spray your car with primer, which naturally necessitates a clean environment.
However, if you tried to be a crazy maverick and neglected this crucial process — sort it out now! I’ve detailed below the necessary steps for the ultimate painting arena — but if you want more detail on prep, including taping-off, sanding, filling, priming, and using HVLP machines, check out my Complete Guide to Automotive Spraying.
- Don your protective wear — including goggles, mask, overalls, and gloves — prepping some areas (especially garages) can be messy and dusty.
- Take time to consider where you will spray — never attempt to paint your motor vehicle outside, unless you want your three-tone pearlescent to be adorned with dust, stuck leaves, grit, and slowly-dying insects.
Instead, choose an indoor area — for example, a garage, four-sided garden pavilion, or inflatable spraying booth.
- Check that your painting area has an electrical power supply — unless you’re using a gasoline-powered compressor (in which case, buy some gas).
- Clean your painting arena with the fastidiousness of a serial killer removing the evidence of their latest murder. This is crucial if you’re using a home garage, a place notoriously full of dirt, oil, and detritus. Brush, vacuum, and mop the floor and walls — and allow to dry.
- If you’re particularly anally retentive — or you want to spray at pro-level — cover all walls with polythene sheeting adhered with masking tape. Not only will this prevent any missed dirt from attaching itself to your fresh coat of paint, but it can also shield your garage area from paint splatters.
- Your spraying space should now be considered as a sterile laboratory — no one, is allowed inside except you and your car — this includes your girlfriend, wife, buddy, buddy’s wife, kids, and pets.
Step 2: Setting Up the Equipment
Step 3: Spraying the Car
- Spray your car from the top downwards — unless before the priming stage you removed body panels and doors, in which case the order of painting doesn’t matter.
- Using a step stool where required, this is the pro-order of painting a car:
- Roof.
- Hood.
- Trunk.
- Front side panels.
- Doors.
- Rear side panels.
- Exposed interior areas.
- Always complete each of the above individual sections entirely before taking a break for a shot of coffee or a bathroom visit. Partly covering the hood, checking your Insta, and then returning to finish the job will lead to an uneven coat and lapping marks — as you will be applying wet paint to a dry/partially dry coat.
- Spray from a distance of 8-12 inches using long, slow, steady, side-to-side passes. Each movement should overlap the previous one by around 30-50 percent to prevent feathering.
- Ensure you avoid painting in arcs — always check that your LVLP gun is parallel to the target surface and at a consistent distance.
- If any areas need precise, detailed work — reduce the fan width on your gun and set the nozzle to a circular pattern.
- Allow the topcoat sufficient drying time — check the manufacturer’s instructions as this can vary across paint makes and formats. Inspect your vehicle in daylight conditions for even coverage, and apply another coat if needed.
- Clean your LVLP sprayer thoroughly.
- When the paint is totally dry, you can remove the tape from masked off areas, reinstall any removed car trim, and remount any previously detached doors and panels. At all times ensuring you don’t scratch the new coat in the process.
- Address the new finish with a soft buffing pad and automotive rubbing compound.
- Remove your dirty protective wear, move the car onto your drive, and allow the neighborhood to witness your awesome wheels.

Conclusion
When you want pro-level automotive spraying — you need an LVLP gun.
Providing the most accurate control, finest atomization, and cleanest finish in the entire power-painting category — these mighty shooters ensure your car looks like it’s fresh from the showroom concourse.
Sure, it’s not as straightforward as spraying a fence or waterproofing decking. But, with a little practice, patience, and this how-to guide — you’ll save yourself thousands of dollars at the local body shop — and have the immense pride of knowing that your vehicle looks awesome due to your own impressive efforts.
I hope you enjoyed this how to paint a car using a LVLP spray gun article — if so, don’t be greedy, feel free to share with your other motor-loving buddies.


